Duo Administration - Use YubiKeys with Duo
Last updated:
Overview
Duo supports use of Yubico YubiKeys in a variety of authentication scenarios:
- As an authenticator for Duo Passwordless logins.
- As a two-factor security key used during browser-based authentication featuring Duo's traditional prompt or Universal Prompt.
- As a WebAuthn passkey for Duo administrator logins to the Duo Admin Panel.
- As an OTP-generating hardware token for any Duo application which supports passcodes for two-factor authentication, including administrator login to the Duo Admin Panel.
Which YubiKey do I need?
Use the Yubico product comparison charts to determine the right YubiKey to buy for your use case.
- WebAuthn, roaming authenticator, or security key - select YubiKeys that support "WebAuthn" and "FIDO2".
- Hardware token passcodes - select YubiKeys that support "OATH - HOTP".
- Both WebAuthn/FIDO2 and passcodes - To support both types of authentication methods with one YubiKey you must choose YubiKey 5 or YubiKey 5 FIPS series.
Purchase YubiKeys from Yubico or other major retailers like Amazon. Duo does not resell YubiKeys.
Article: How to select the correct YubiKey
YubiKey as a Duo Roaming Authenticator
YubiKeys that support FIDO or FIDO2 standards work as a WebAuthn security key for Duo two-factor authentication in Duo Universal Prompt and traditional Duo Prompt when you enable the "roaming authenticator" authentication method in the effective Duo policy for a given user and application.
Duo Security Key Login
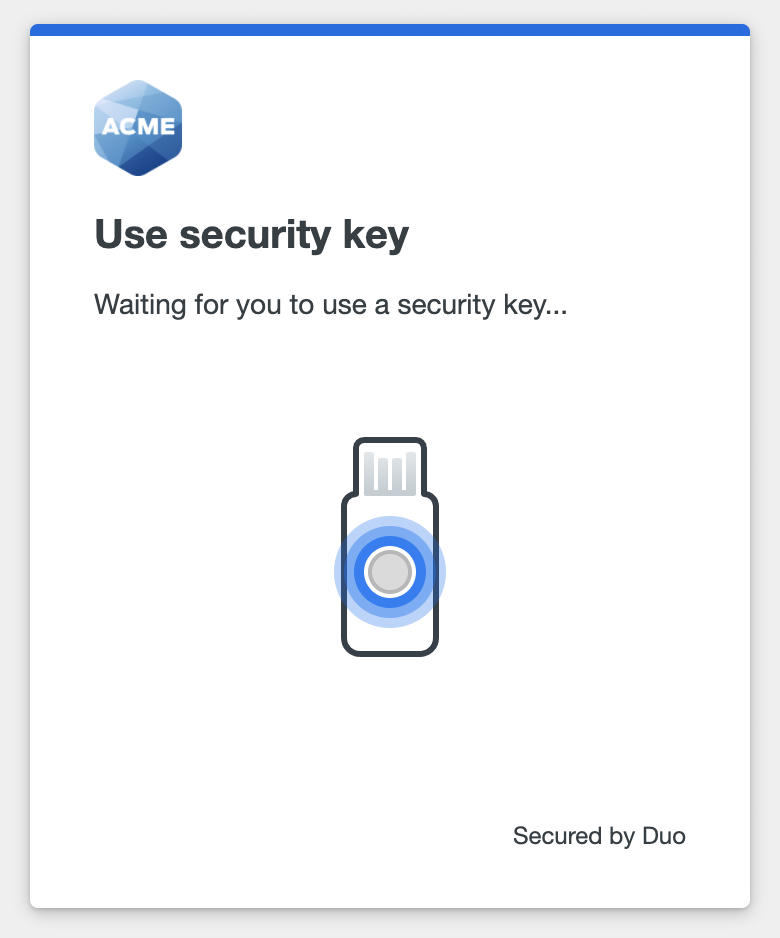
Only FIDO2 security keys that support user verification in the form of a PIN or biometric, like the YubiKey 5, YubiKey Security Key, or YubiKey Bio series, work with Duo Passwordless. Users will need to configure the PIN or enroll their finger for use with their YubiKey as instructed by Yubico before trying to set up Duo Passwordless using their YubiKey.
Note: Using a YubiKey as a roaming authenticator (FIDO2) does not require the use of a slot on the YubiKey itself. Slots 1 and 2 are only required for OTP use.
Article: Understanding YubiKey PINs
Guide: YubiKey Bio Series Fingerprint Enrollment
See the Duo User Guide for examples and instructions for the complete security key user experience with Duo Passwordless, Duo Universal Prompt, and the traditional Duo Prompt.
Configure YubiKey OTP for Duo
To use a YubiKey hardware token you will need to enter its stored secret in your Duo Admin Panel. If you do not know the current stored secret you can use the Yubico Authenticator to reconfigure the YubiKey.
This information applies to YubiKey tokens that support one-time password (OTP) functionality, like the YubiKey 5 series or YubiKey 4 series. Verify your YubiKey's capabilities at the Yubico site.
Generate YubiKey Configuration
Each YubiKey with OTP support has two slots. The first slot generates a passcode when you touch the YubiKey for between 0.3 and 1.5 seconds and released. The second slot generates the passcode if you touch the YubiKey for between 2 and 5 seconds. Yubico programs a new YubiKey's first configuration slot for the "Works with YubiKey" YubiCloud OTP service and leaves the second configuration slot blank.
If you are already using this YubiKey with an existing service, reconfiguration will overwrite the stored secret for that service. You will no longer be able to use the YubiKey to log into other services unless you also update the stored secret information there. If you are using your YubiKey with a service that integrates with Yubico's OTP service and you overwrite that factory configuration in the first slot, you cannot recover that configuration. You must upload the new credential to YubiCloud to continue using that service.
Configure with Yubico Authenticator
First, download and install the Yubico Authenticator for Desktop on a macOS or Windows system.
To create or overwrite a YubiKey slot's configuration:
-
Insert the YubiKey into a USB port.
-
Start the Yubico Authenticator application.
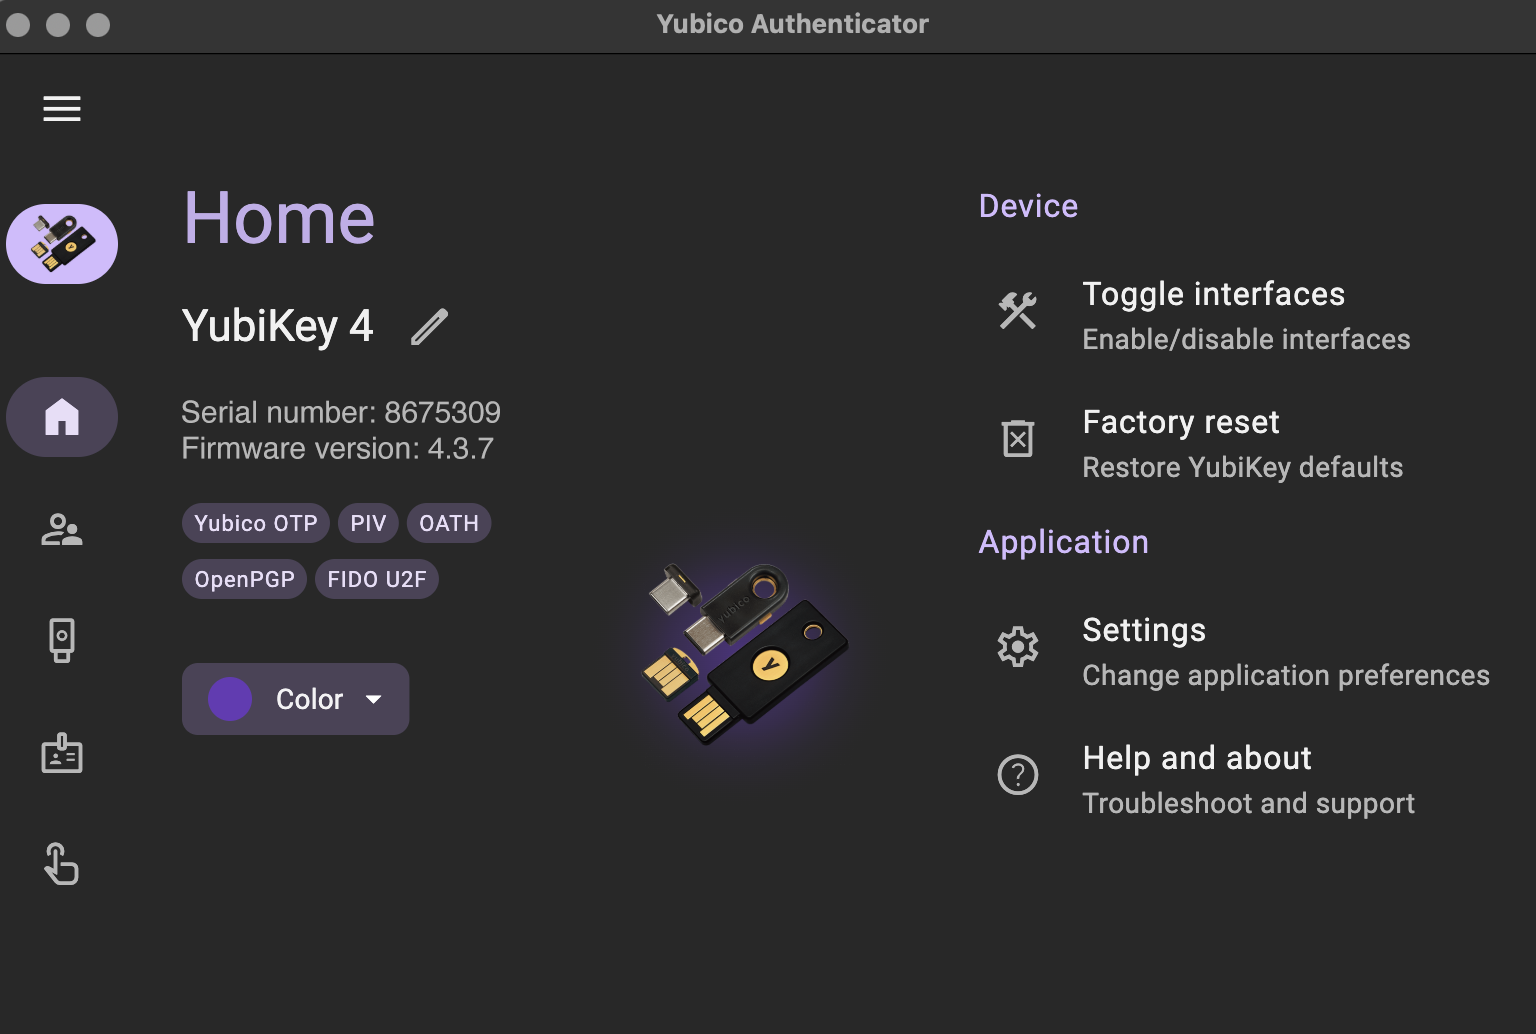
-
Wait for the Yubico Authenticator to recognize your YubiKey. You'll see the YubiKey model, firmware version, and serial number shown in the application.
-
Expand the left-side menu and click on Slots (or click the icon at the bottom-left of the app window that looks like a finger tapping).
-
Determine which OTP slot (1 or 2) you'd like to configure and click on that slot.
-
Click Yubico OTP on the right under "Setup".
-
Click the "Use serial" sparkles icon on the right side of the Public ID input box to retrieve the YubiKey's serial number.
-
Click the "Generate random" arrow icons on the right side of the Private ID and Secret key input boxes to generate values for each.
-
Click Save to update the OTP information for the selected slot. The app discards the new "Public ID", "Private ID", and/or "Secret Key" values you generated if you cancel without saving.
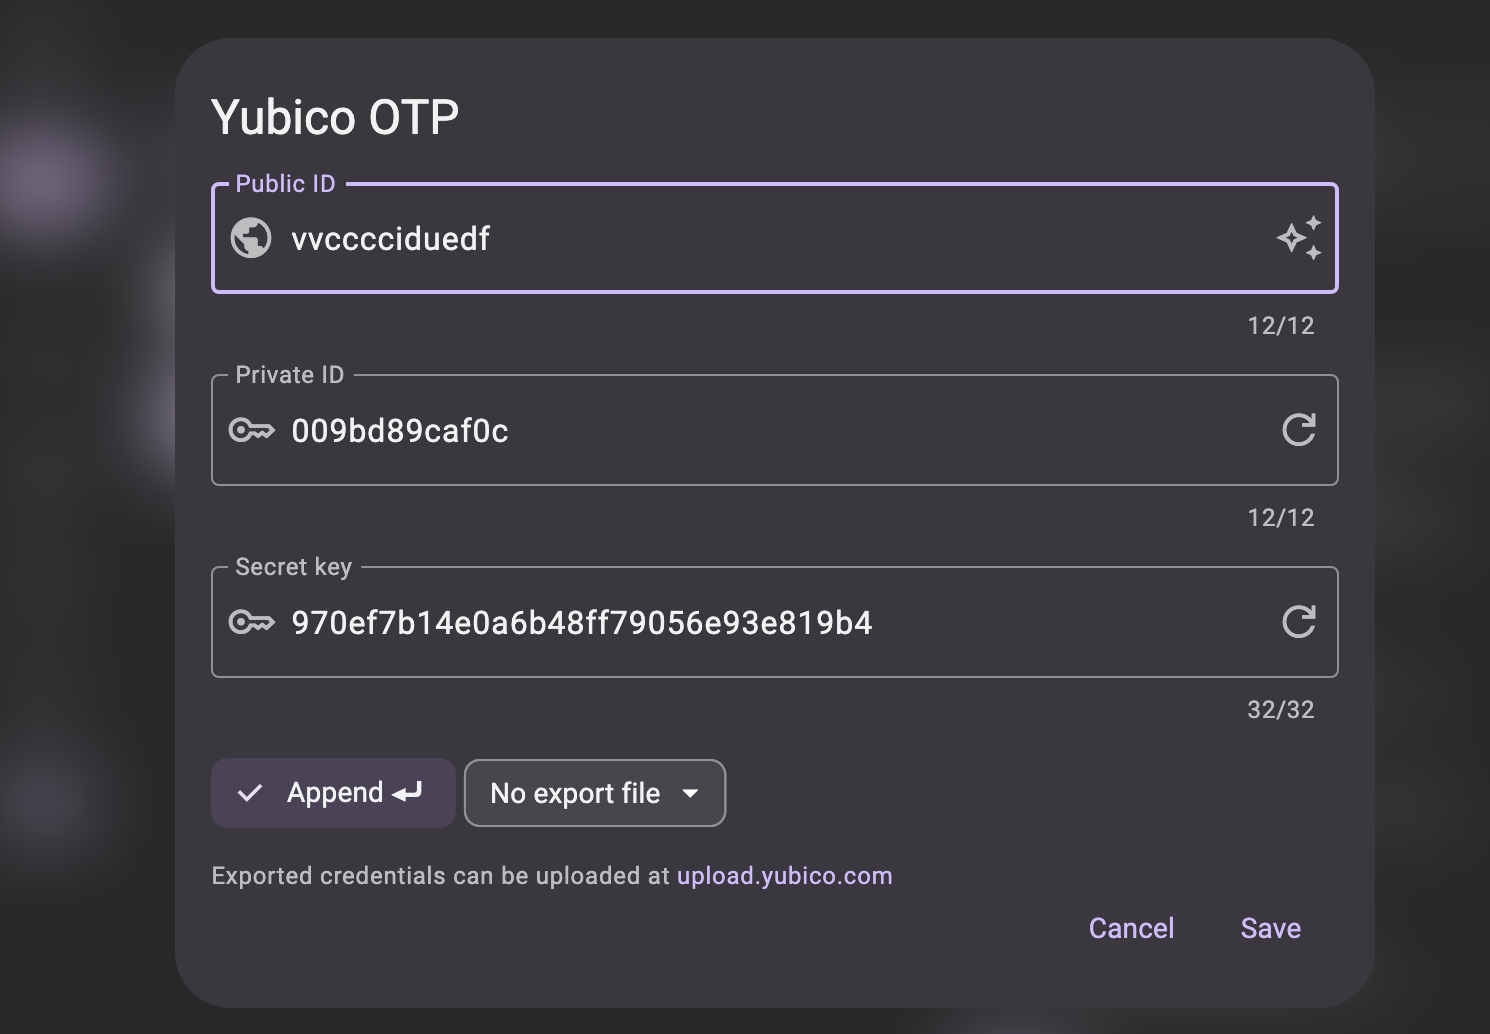
You will need the Public ID (which is the token serial number if you checked the "Use serial" box earlier), Private ID, and Secret key values to add the YubiKey to your Duo account. You may also want to save this information, along with the Public Identity, somewhere safe since you will need them if you use this YubiKey with other services in the future. You can't read your existing "Public ID" (if you did not use the device serial), "Private ID", and "Secret Key" information off the token after saving the new values. If you lost this information and need to add your YubiKey to Duo again you will need to repeat programming the OTP slot to generate new information.
Add Token in Duo Admin Panel
Follow the instructions for importing third-party OTP tokens, specifying the YubiKey type:
-
Log into the Duo Security Admin Panel.
-
Go to 2FA Devices → Hardware Tokens.
-
Click the Import Hardware Tokens button.
-
Set the drop-down to YubiKey AES.
-
Enter the YubiKey's Public ID, Private ID, and Secret key values from the Yubico Authenticator tool into the CSV token data text box, separated by commas.
The YubiKey OTP information should look something like this after you paste it into the text box:
01231337, 0c87995578ee, a4d093a9bd09e124e917b6720356a13bIf you wish to import multiple YubiKey OTP tokens, enter each token's information on a new line.
-
Click Import Hardware Tokens to create the YubiKey tokens in Duo.
Assign the YubiKey Token to a User
After importing your YubiKey OTP tokens into Duo you can assign them to users for Duo-protected application logins, or to Duo administrators for use when logging into the Duo Admin Panel.
Troubleshooting
Need some help? Take a look at our Yubikey Knowledge Base articles or Community discussions. For further assistance, contact Support.