Duo Single Sign-On for 1Password
Last updated:
About Duo Single Sign-On
Duo Single Sign-On is our cloud-hosted SSO product which layers Duo's strong authentication and flexible policy engine on top of 1Password logins using the Security Assertion Markup Language (SAML) 2.0 or OpenID Connect (OIDC) authentication standards. Duo Single Sign-On acts as an OpenID provider (OP), authenticating your users using existing on-premises Active Directory (AD) or any SAML 2.0 IdP and prompting for two-factor authentication before permitting access to 1Password.
Duo Single Sign-On is available in Duo Premier, Duo Advantage, and Duo Essentials plans, which also include the ability to define policies that enforce unique controls for each individual SSO application. For example, you can require that Salesforce users complete two-factor authentication at every login, but only once every seven days when accessing 1Password. Duo checks the user, device, and network against an application's policy before allowing access to the application.
Configure Single Sign-On
Before configuring 1Password with Duo SSO using OpenID Connect (OIDC) authentication you'll first need to configure a working authentication source.
Once you have your SSO authentication source working, continue to the next step of creating the 1Password application in Duo.
When configuring an application to be protected with Duo Single Sign-On you'll need to send attributes from Duo Single Sign-On to the application. Active Directory will work with no additional setup, but if you used a SAML identity provider as your authentication source please verify that you configured it to send the correct SAML attributes.
These default attributes automatically map certain attributes from your authentication source.
| Default Attribute | Active Directory | SAML IdP |
|---|---|---|
<Username> |
sAMAccountName | Username |
<Email Address> |
||
<Display Name> |
displayName | DisplayName |
<First Name> |
givenName | FirstName |
<Last Name> |
sn | LastName |
<AMR> |
Not Applicable | Not Applicable |
AMR will be reported as [`pwd`, `auth-factor-dependent`].
Before setting up 1Password with Duo SSO
- The email address of the 1Password user needs to match the email address value being sent by Duo.
- 1Password Unlock with Duo SSO will replace a user's 1Password account password, secret key, and emergency kit.
- Account owners will always log in with a password and secret key and cannot log in with Duo SSO.
- Users will need to use a device already logged into 1Password with Duo SSO to log into other devices with 1Password.
- If users aren't able to log into 1Password they will need to contact a 1Password administrator at your company to regain access to their account.
- If a user's configuration would change from using Duo SSO back to a password they will be prompted by 1Password to set a new password.
Create the 1Password Application in Duo
-
Log in to the Duo Admin Panel and navigate to Applications → Application Catalog.
-
Locate the entry for 1Password with the "SSO" label in the catalog. Click the + Add button to start configuring 1Password. See Protecting Applications for more information about protecting applications with Duo and additional application options. You'll need the information on the 1Password page later to complete your setup.
-
No active Duo users can log in to new applications until you grant access. Update the User access setting to grant access to this application to users in selected Duo groups, or to all users. Learn more about user access to applications. If you do not change this setting now, be sure to update it so that your test user has access before you test your setup.
This setting only applies to users who exist in Duo with "Active" status. This does not affect application access for existing users with "Bypass" status, existing users for whom the effective Authentication Policy for the application specifies "Bypass 2FA" or "Skip MFA", or users who do not exist in Duo when the effective New User Policy for the application allows access to users unknown to Duo without MFA. -
The Metadata section is where you can get OpenID provider information about Duo Single Sign-On to provide to 1Password. You'll need information from here later.
-
Navigate to the Relying Party section and under "Grant Type" leave Allow PKCE only authentication checked.
-
You may modify the value of Access Token Lifetime between 5 to 60 minutes. Default is 60 minutes.
-
Optionally, you can configure refresh tokens by checking the box next to Refresh Tokens. You can then modify the following lifetimes:
- Refresh Token Absolute Lifetime: The length of time after an original user authentication that refresh tokens can be exchanged for additional tokens. Once this time has been exceeded, the user will need to authenticate again. The lifetime can be 60 minutes to 180 days. Default is 30 days.
- Refresh Token Inactivity Lifetime: The length of time an individual unused refresh token will be valid before it expires. The lifetime can be 5 minutes to 7 days. Default is 24 hours.
-
Next to Sign-In Redirect URLs add the following URLs. You can click Add Redirect URL to add additional URLs:
onepassword://sso/oidc/redirecthttps://YOUR_DOMAIN.1password.com/sso/oidc/redirect/replacing "YOUR_DOMAIN" with your 1Password domain name.

-
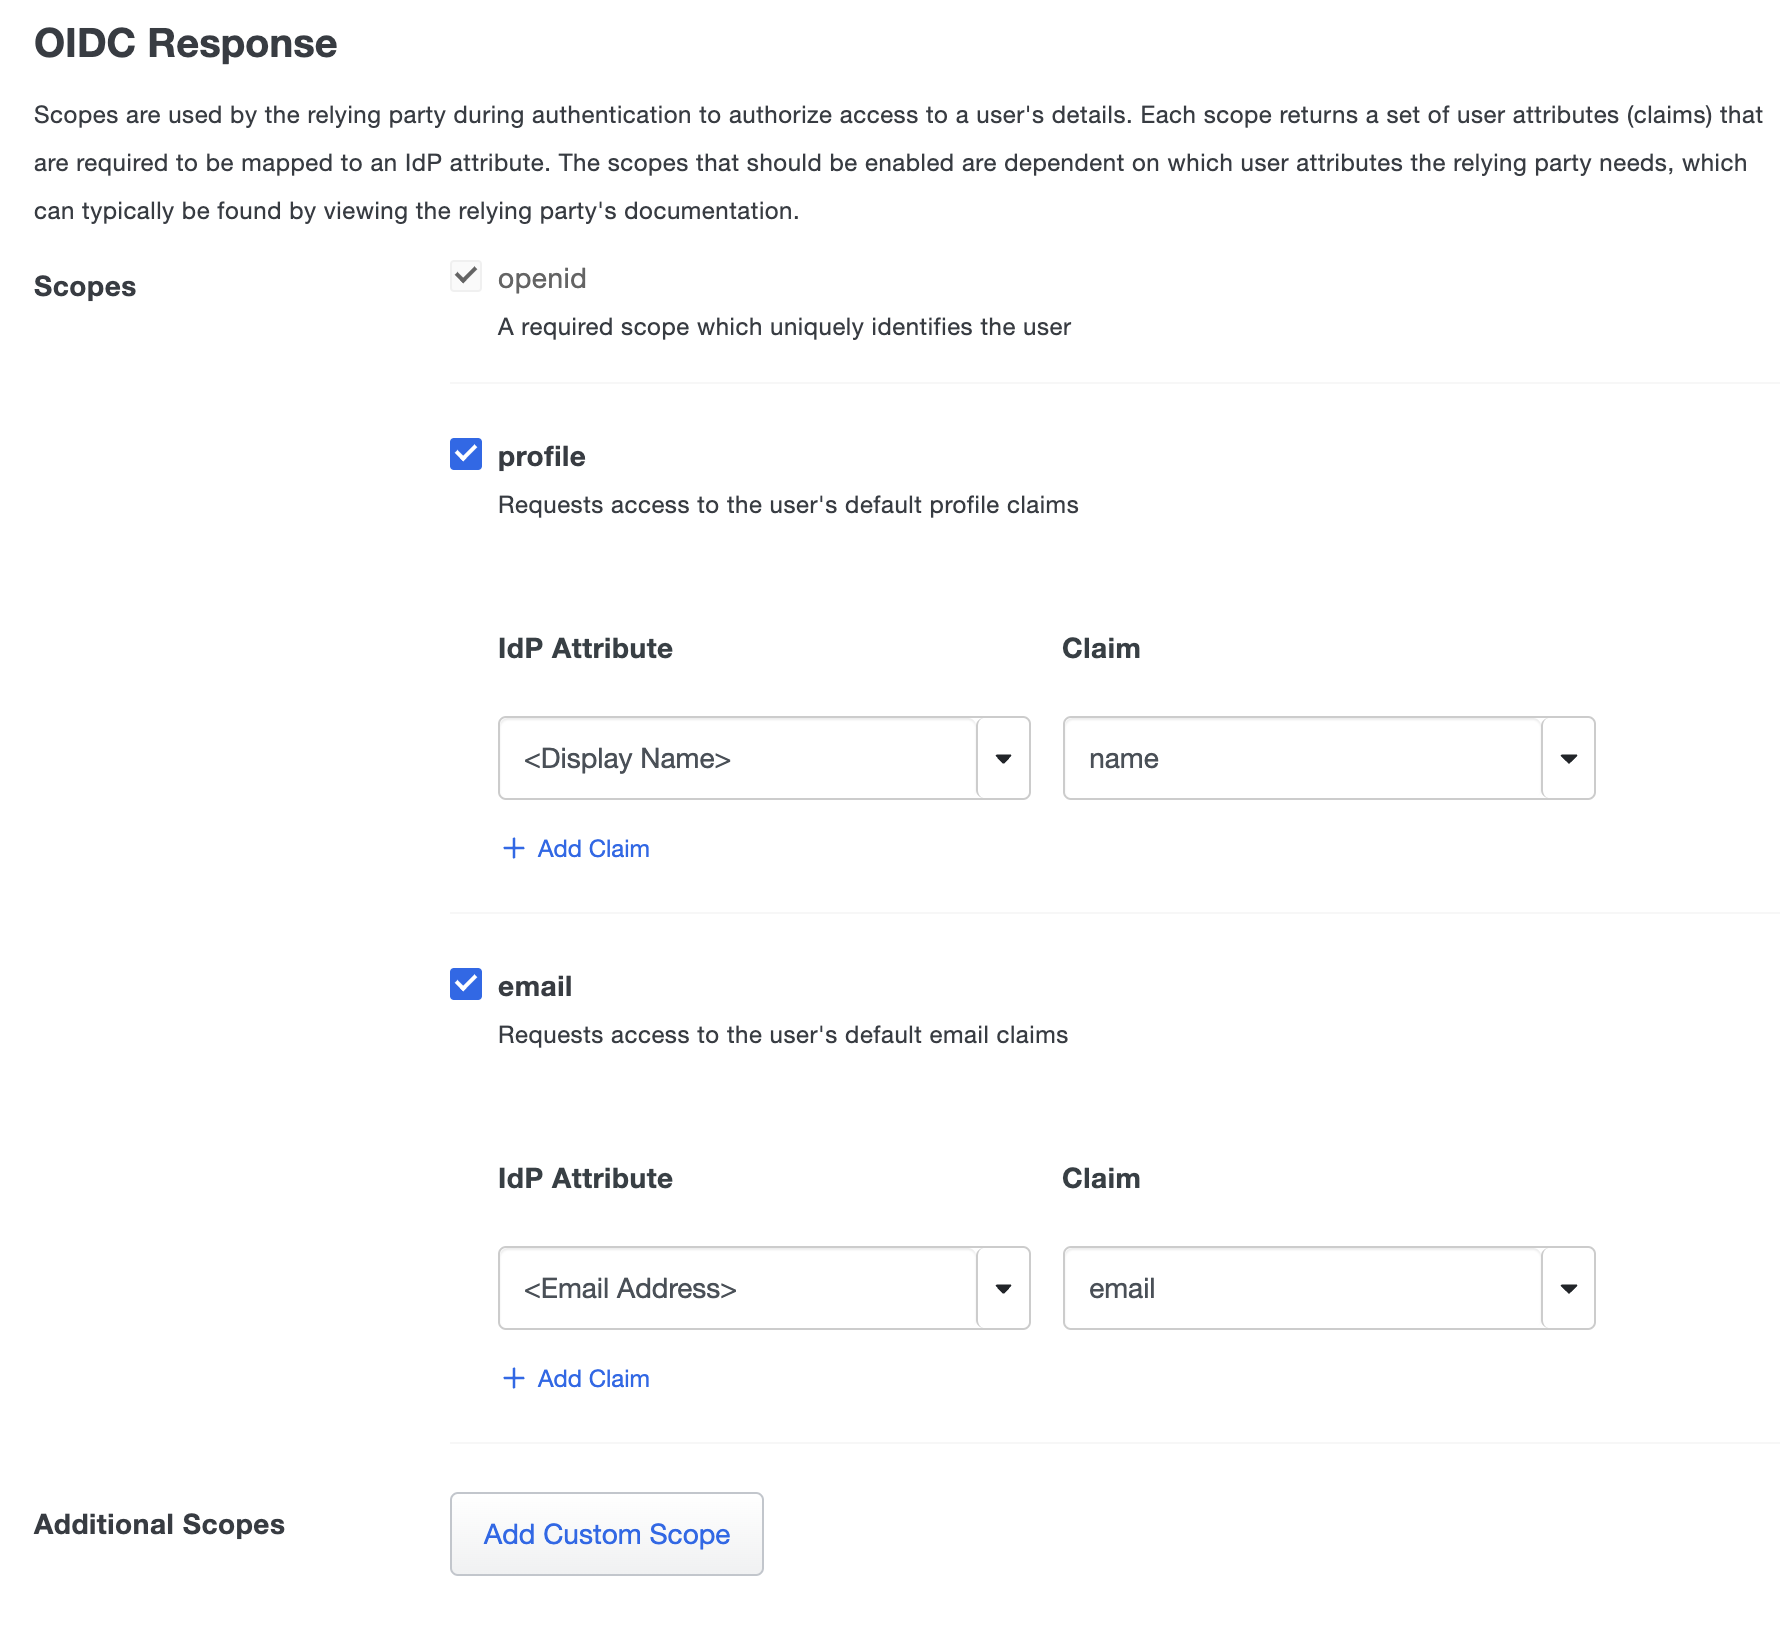
Scopes are used by the 1Password during authentication to authorize access to a user's details. Each scope returns a set of user attributes (claims) that are required to be mapped to an IdP attribute. When an OIDC request is sent to Duo SSO only the claims from the requested scopes will be sent back in the response.
We've automatically enabled the following scopes and mapped the following attributes. You can change which attribute is used from your authsource by modifying the IdP Attribute name related to each claim:
-
Profile Scope:
IdP Attribute Claim <Display Name> name -
Email Scope:
IdP Attribute Claim <Email> email
-
-
You can adjust additional settings for your new SSO application at this time — like changing the application's name from the default value, enabling self-service, or assigning a group policy.
-
Scroll down to the bottom of the page and click Save.
Duo Universal Prompt
The Duo Universal Prompt provides a simplified and accessible Duo login experience for web-based applications, offering a redesigned visual interface with security and usability enhancements.
| Universal Prompt | Traditional Prompt |
 |
 |
We've already updated the Duo 1Password application hosted in Duo's service to support the Universal Prompt, so there's no action required on your part to update the application itself. If you created your 1Password application before March 2024, you can activate the Universal Prompt experience for users from the Duo Admin Panel. 1Password applications created after March 2024 have the Universal Prompt activated by default.
If you created your 1Password application before March 2024, it's a good idea to read the Universal Prompt Update Guide for more information, about the update process and the new login experience for users, before you activate the Universal Prompt for your application.
Activate Universal Prompt
Activation of the Universal Prompt is a per-application change. Activating it for one application does not change the login experience for your other Duo applications.
The "Universal Prompt" area of the application details page shows that this application is "Ready to activate", with these activation control options:
- Show traditional prompt: Your users experience Duo's traditional prompt via redirect when logging in to this application.
- Show new Universal Prompt: (Default) Your users experience the Universal Prompt via redirect when logging in to this application.
The application's Universal Prompt status shows "Activation complete" here and on the Universal Prompt Update Progress report.
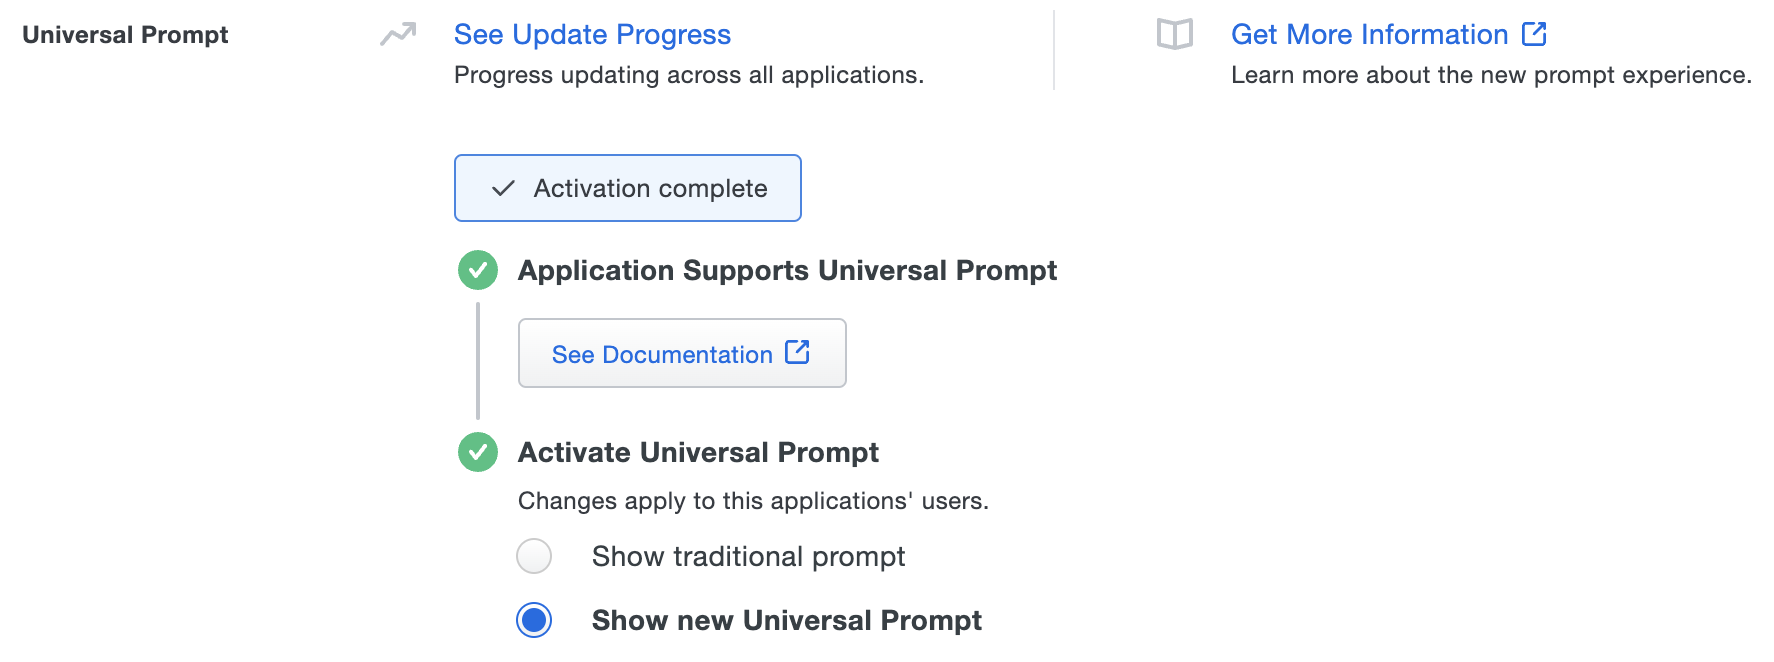
Should you ever want to roll back to the traditional prompt, you can return to this setting and change it back to Show traditional prompt. However, this will still deliver the Duo prompt via redirect, not in an iframe. Keep in mind that support for the traditional Duo prompt ended for the majority of applications in March 2024.
Universal Update Progress
Click the See Update Progress link to view the Universal Prompt Update Progress report. This report shows the update availability and migration progress for all your Duo applications. You can also activate the new prompt experience for multiple supported applications from the report page instead of visiting the individual details pages for each application.
Configure 1Password
You'll need to provide some information about Duo Single Sign-On to 1Password, like URL information, client ID, and client secret. You can find this information in the Metadata section at the top of the application page in the Duo Admin Panel.
-
Log into your 1Password account as an administrator.
-
Click on Security in the right-hand navigation bar.
-
Under "Unlock with Identity Provider" click on Manage configuration.
-
On the "Choose your identity provider" screen click Other and then click Next.
-
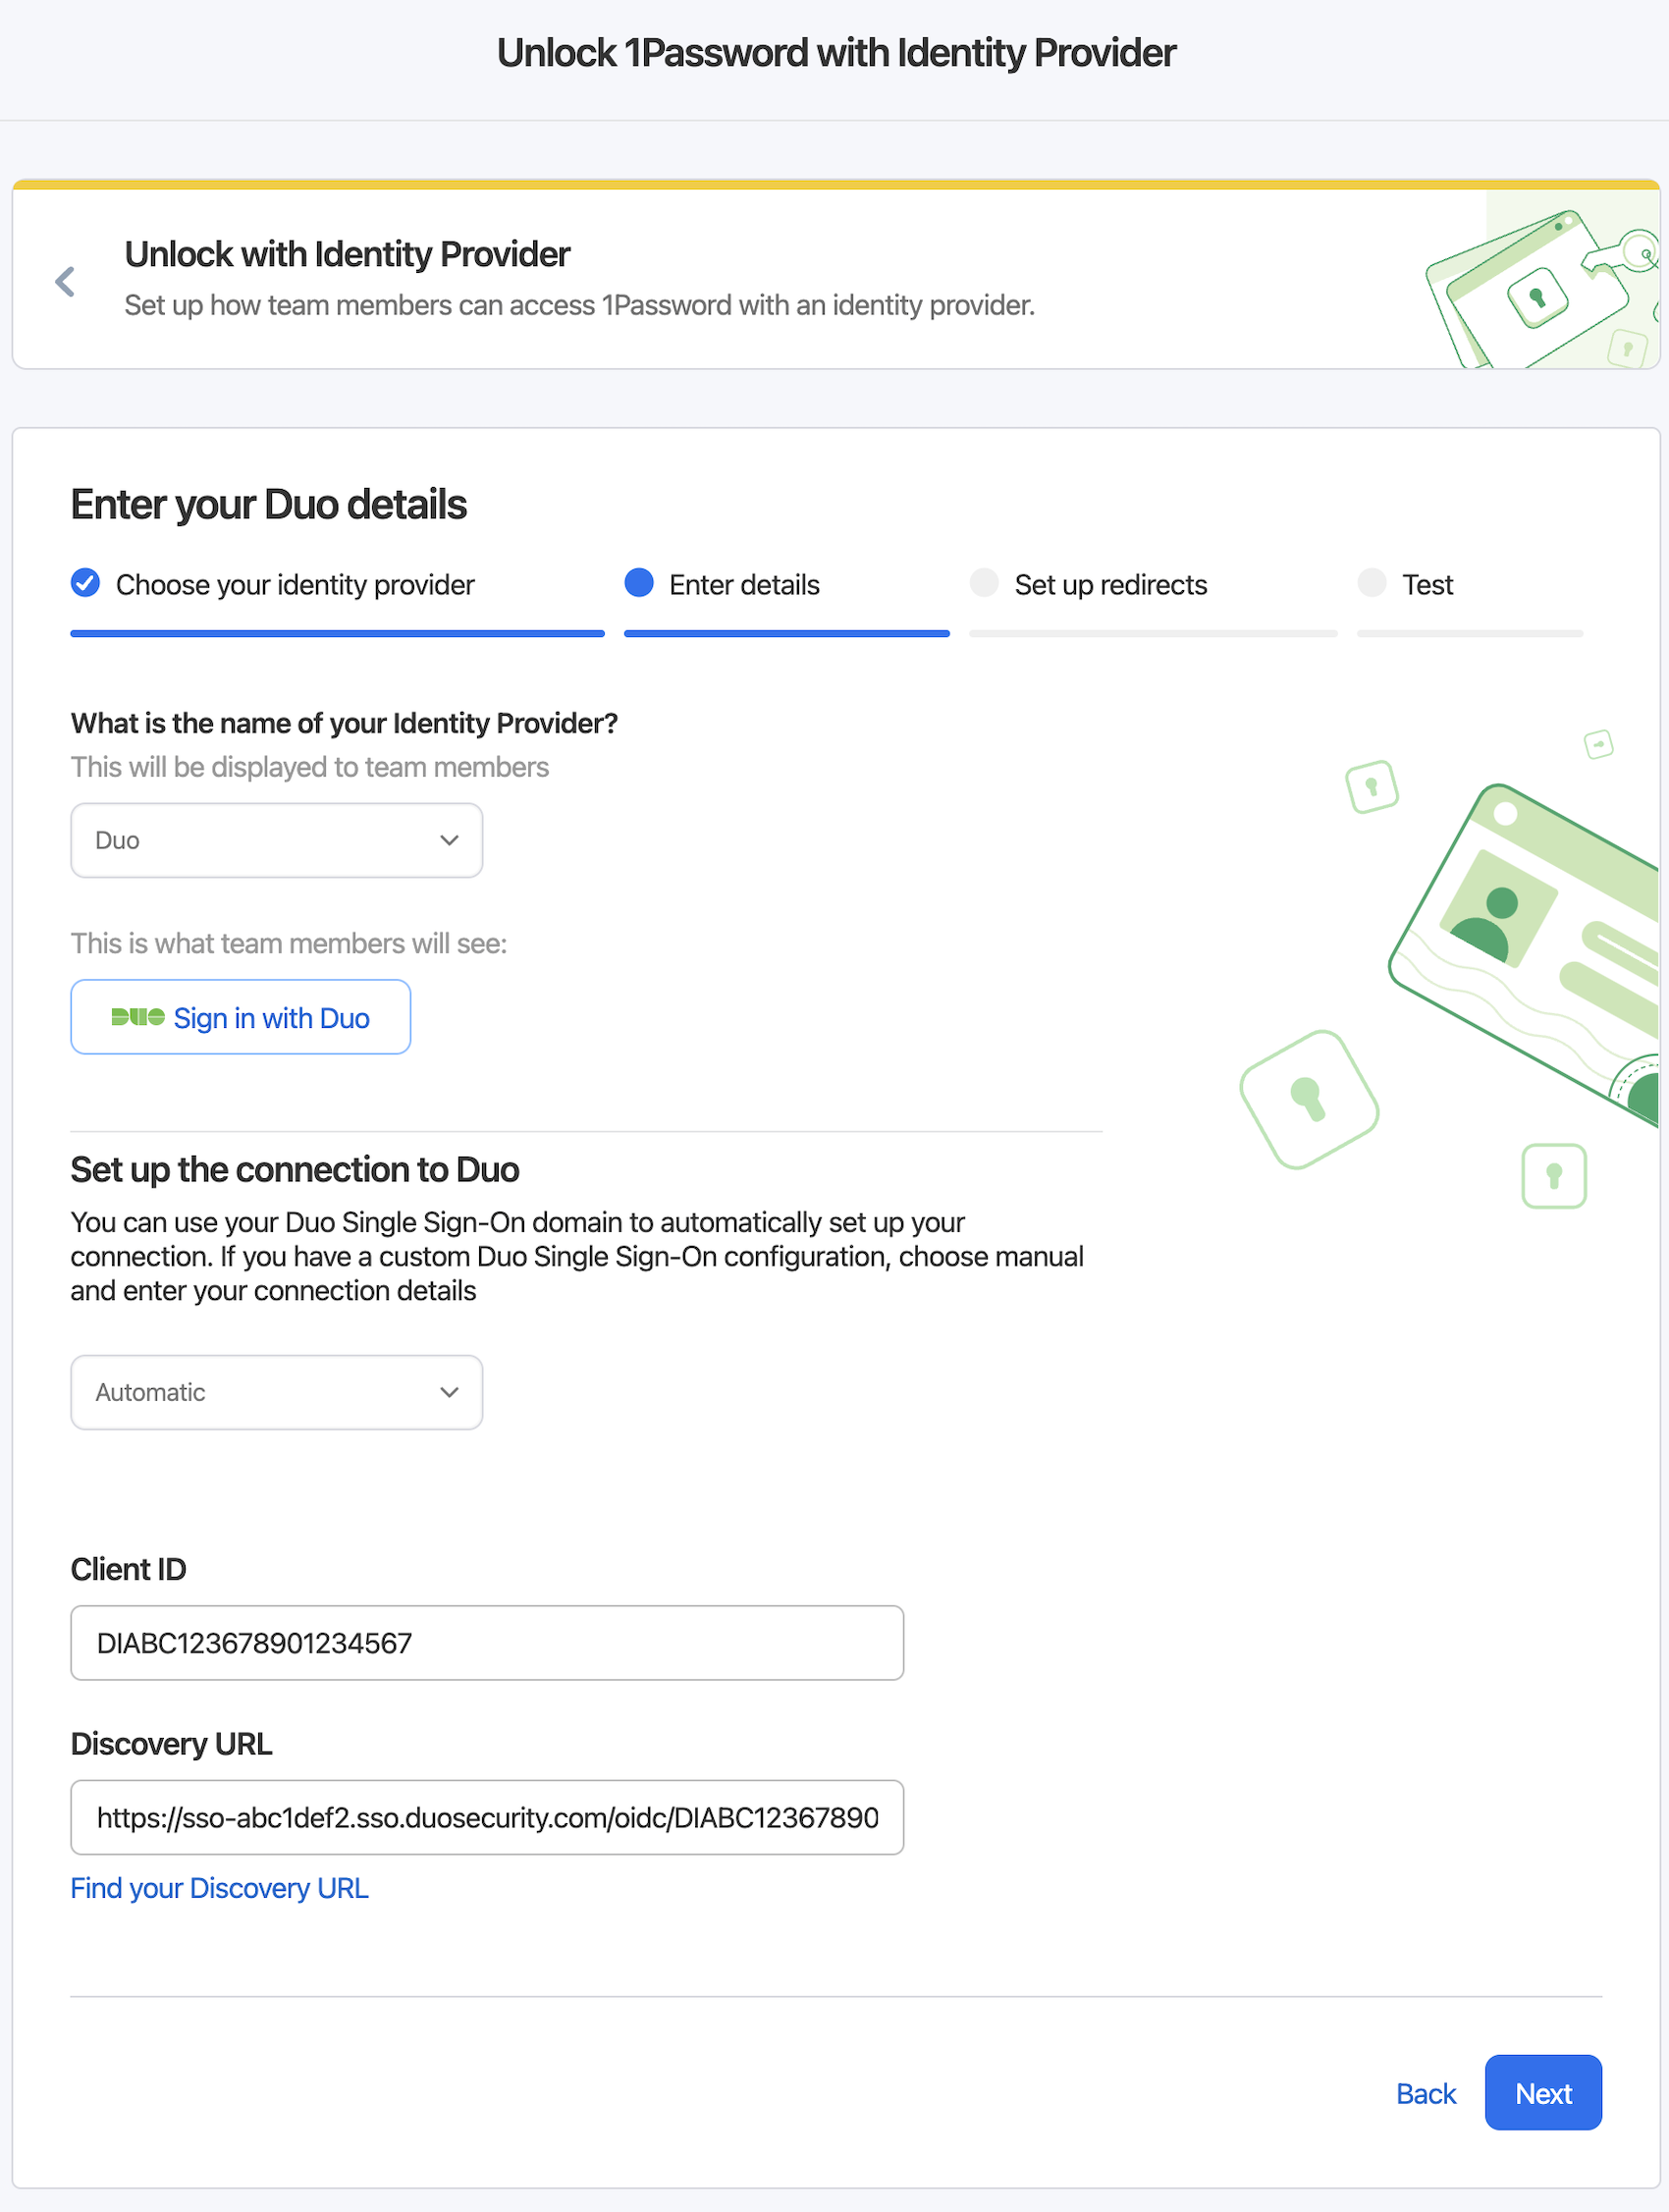
Select Duo from the drop-down under "What is the name of your Identity Provider?". The page will update with new options.
-
Scroll down to the "Set up the connection to Duo". Leave Automatic selected in the drop-down.
-
Copy the Client ID from the Duo Admin Panel Metadata section and paste it into the 1Password Client ID field.
-
Copy the Discovery URL from the Duo Admin Panel Metadata section and paste it into the 1Password Discovery URL field.
-
Click Next. On the Redirect URIs screen click Next.
-
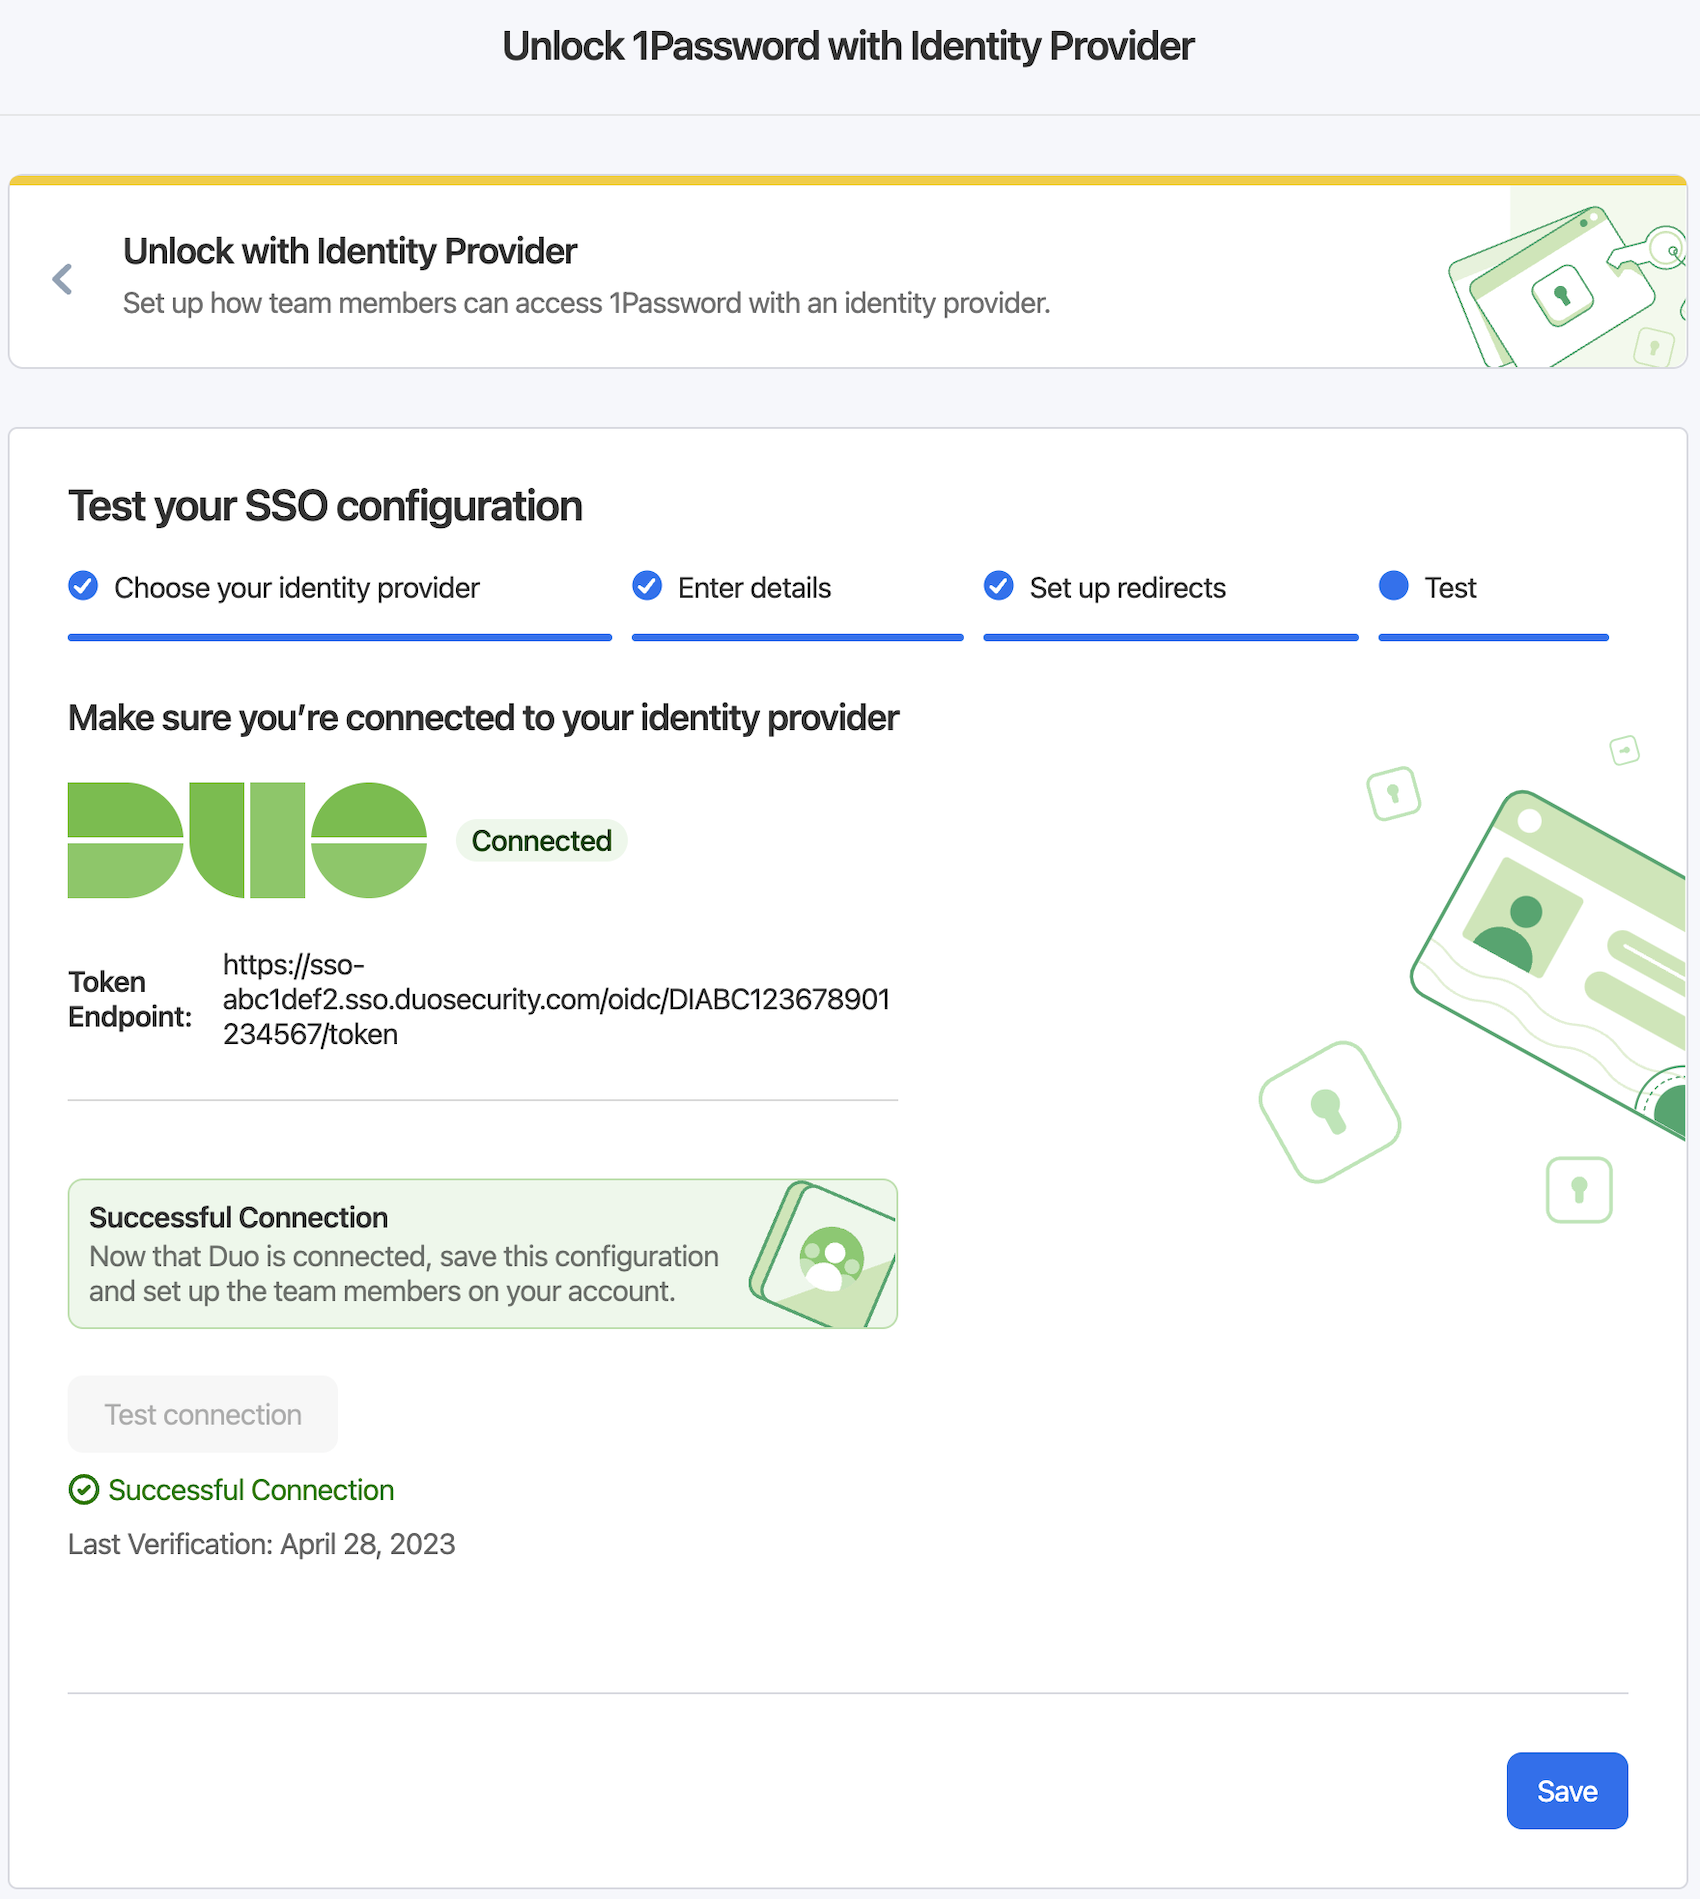
On the "Test your SSO configuration" screen click Test connection. This will redirect you to Duo SSO to do an authentication.
-
Upon completing a successful Duo SSO authentication you'll be taken back to the "Test your SSO configuration" page with a "Successful Connection" message. Click Save to continue. You'll be taken to a new page.
-
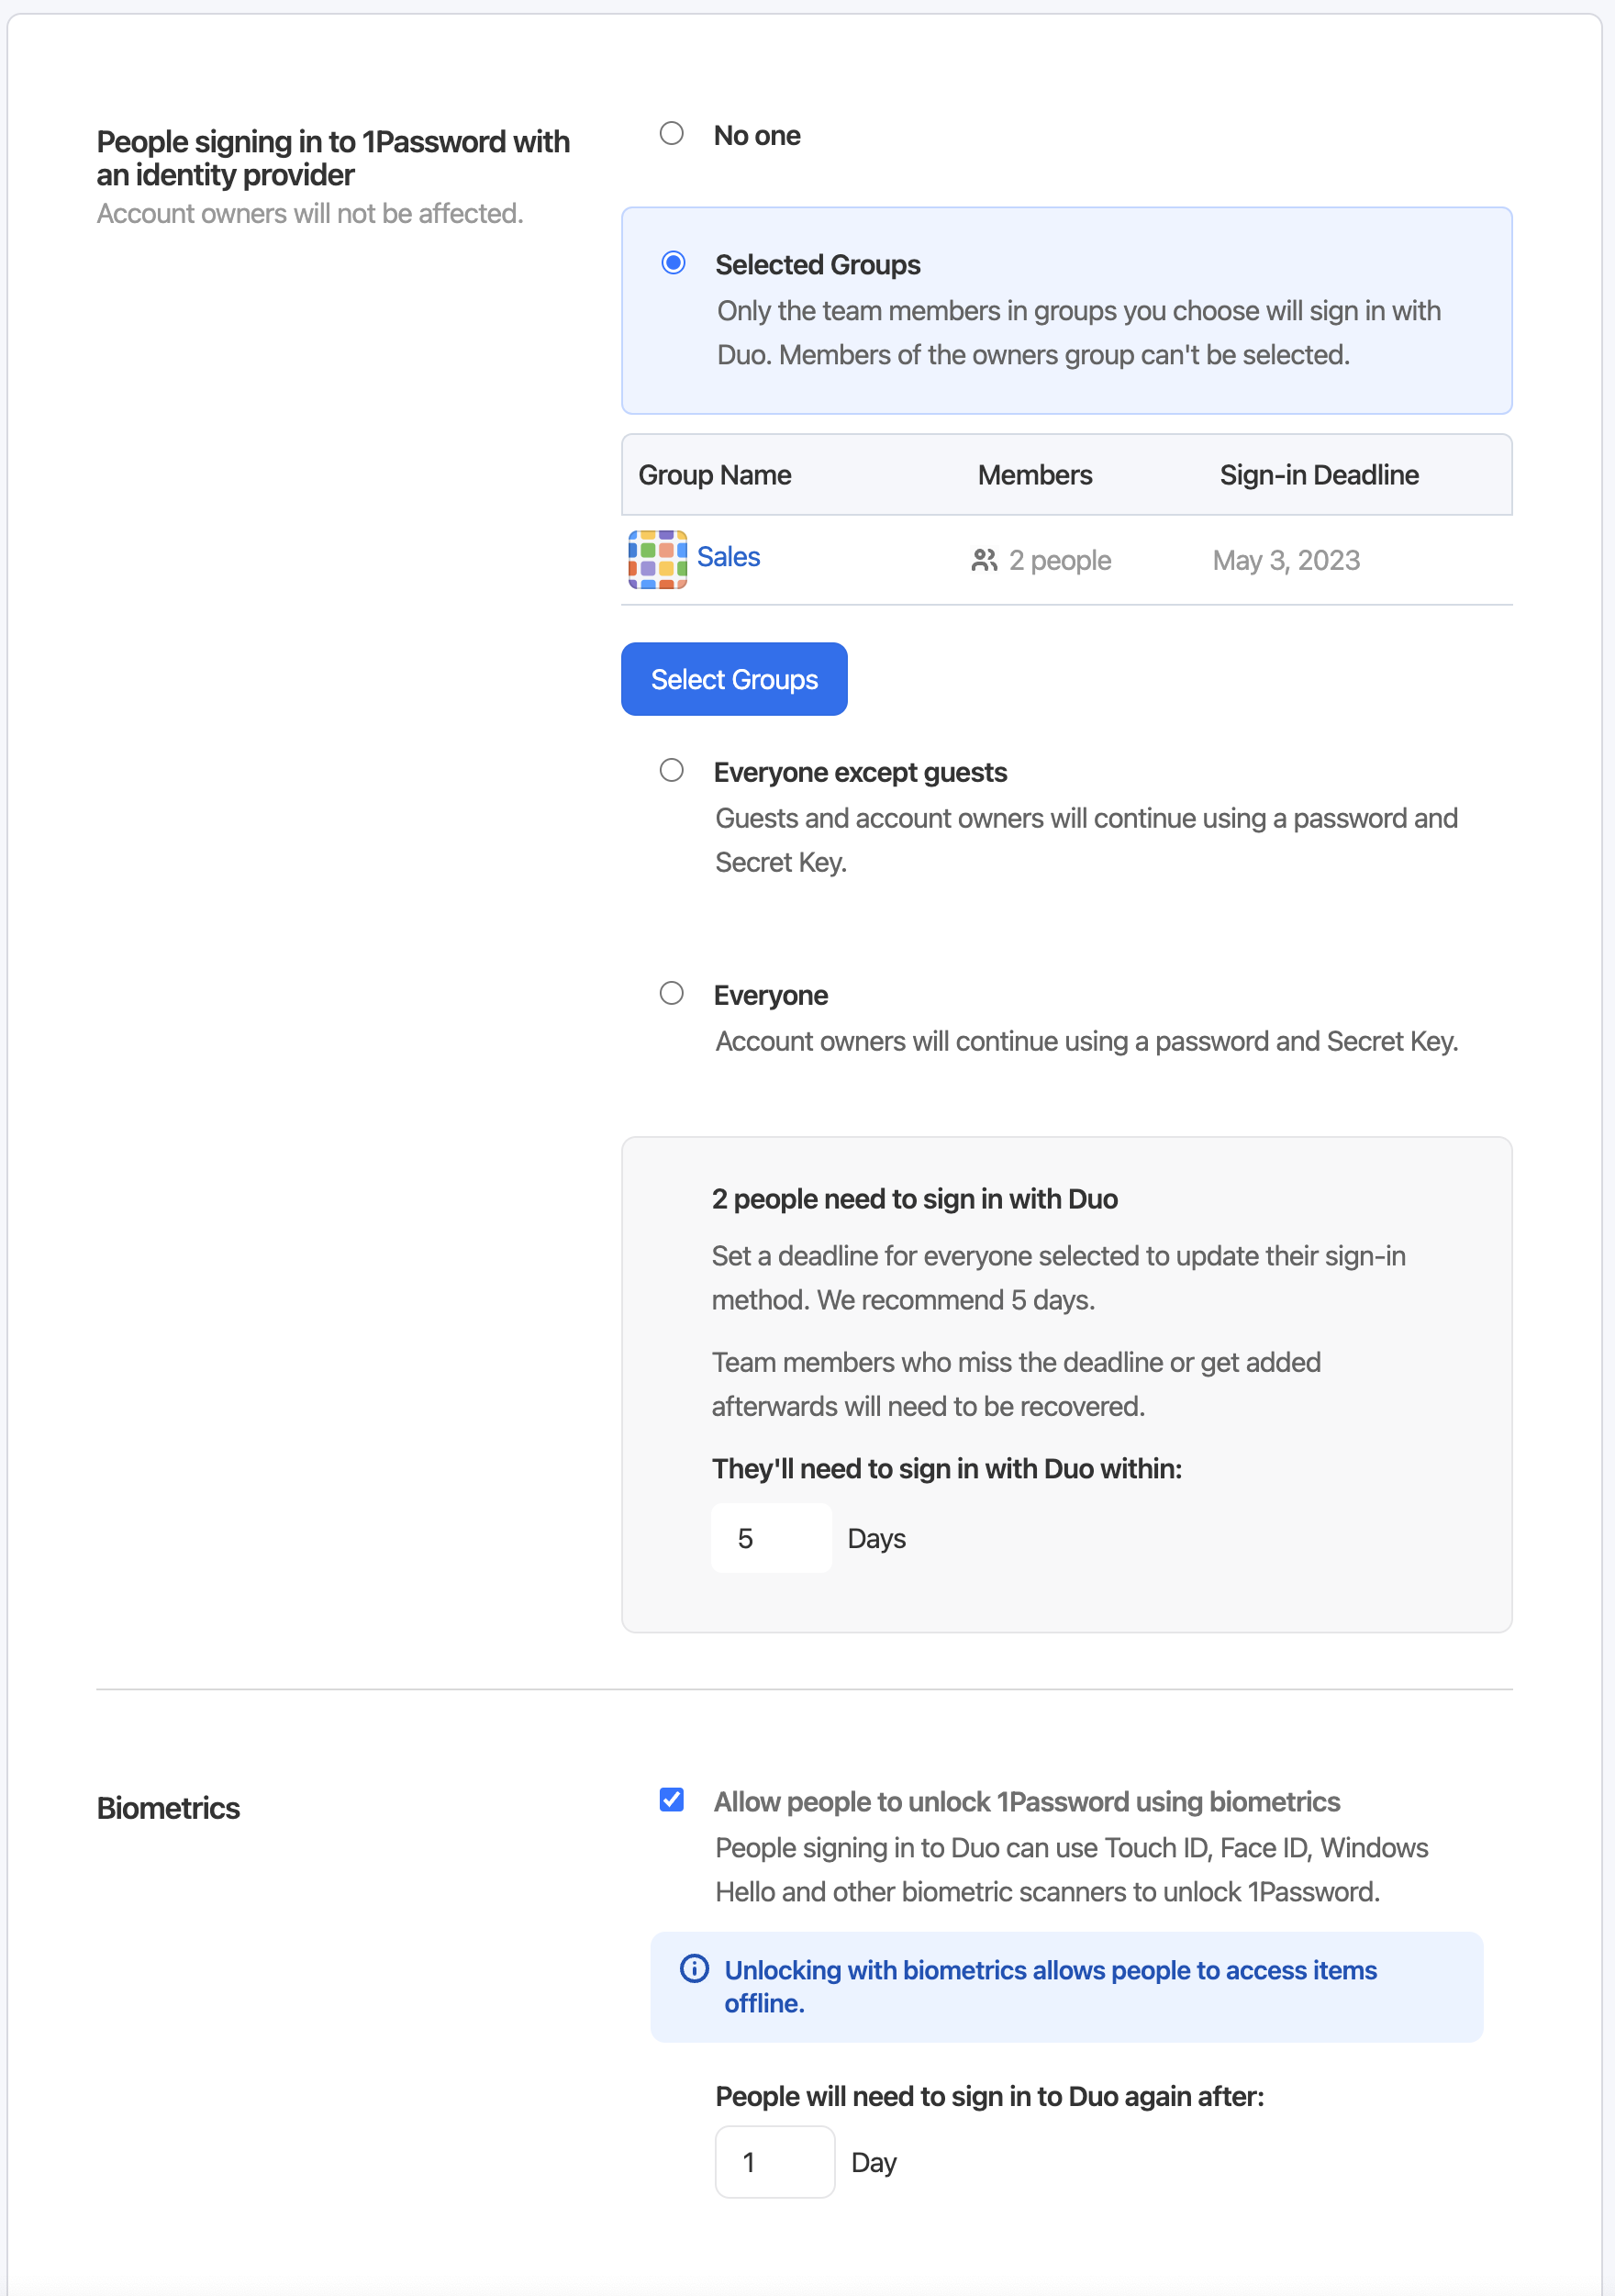
On the 1Password OIDC settings page you can pick from multiple options under "People signing in to 1Password with an Identity Provider".
Account owners never sign in using SSO and will always continue to use their master password and secret key.
- No one - No one will sign in with SSO.
- Selected Groups - Users in these groups will sign in with SSO.
- Everyone except guests - All user expect guests will sign in with SSO.
- Everyone - Everyone will sign in with SSO.
Users that are required to sign in with SSO will have a deadline set and be required to sign in with SSO within a specific amount of days or will need assistance recovering their account.
-
Under "Biometrics" you can check the box for Allow people to unlock 1Password using biometrics to allow users to sign in with biometrics to sign into 1Password instead of always signing in with SSO.
-
Click Review Changes. A pop-up will appear asking you to confirm the changes. Review these and click Save.
Users setting up 1Password with Duo SSO
Users that are required to sign in with Duo SSO will get an email and also be prompted to set it up on their 1Password account the next time they log in.
-
When users are prompted they can click "Get started". They'll be taken to a new page.
-
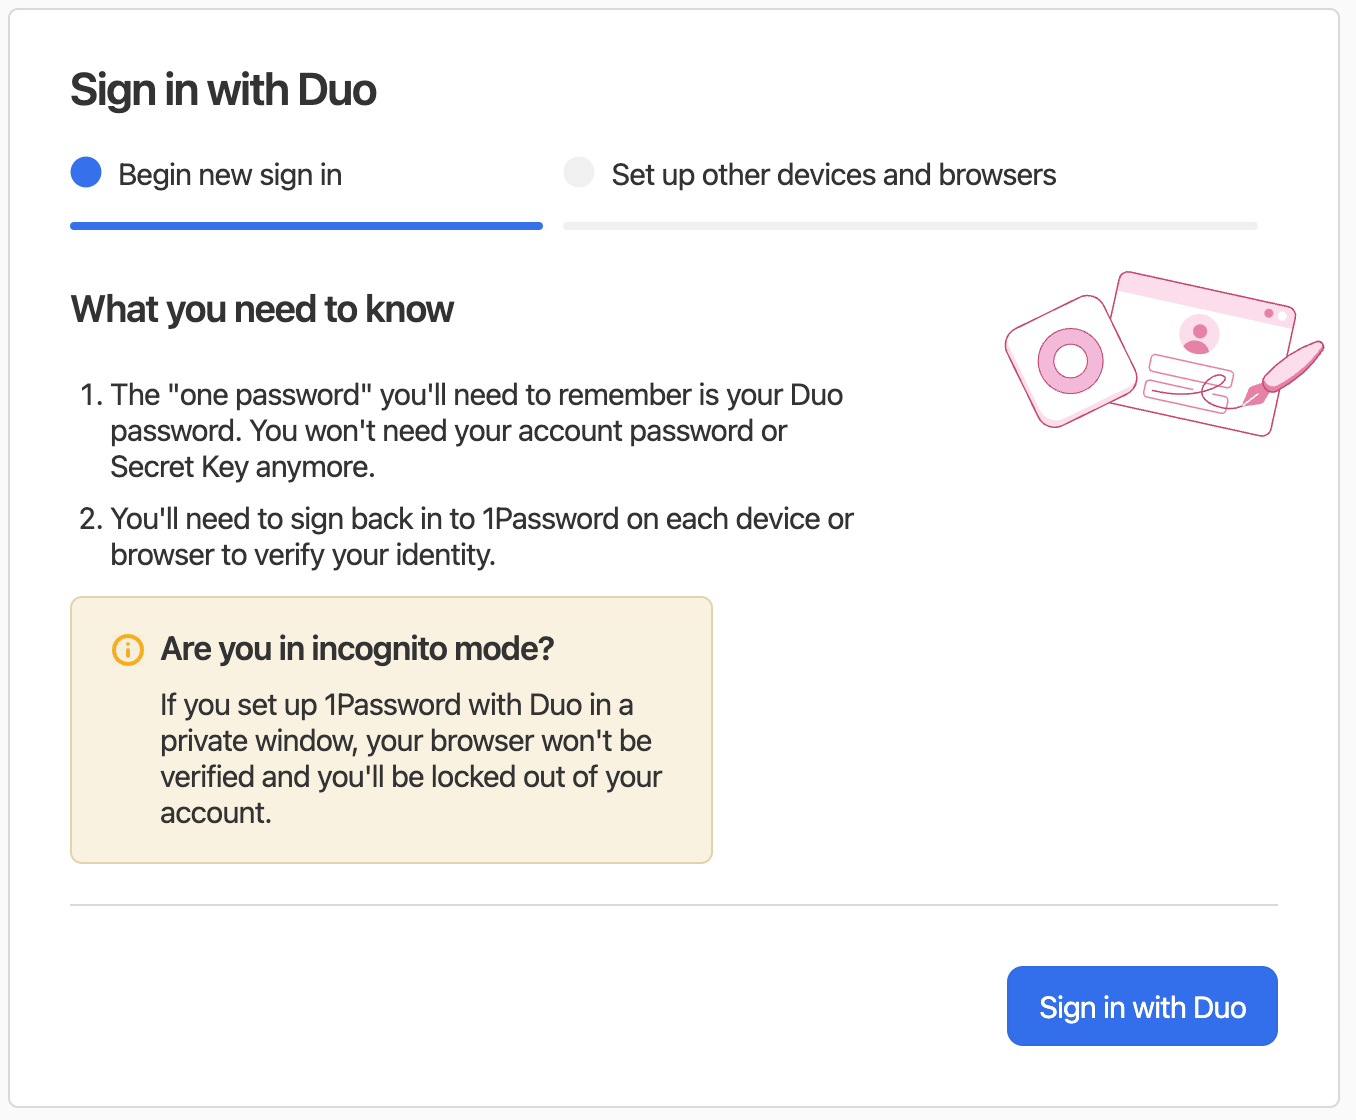
On the "Sign in with Duo" page users will be presented with information they should know before signing in.
-
Click Sign in with Duo. User will be redirected to Duo SSO to sign in with their account.
-
Upon successful authentication with Duo SSO users are prompted to set up other devices to sign into 1Password using Duo SSO.
Logging in with 1Password
Once users have set up 1Password Unlock with Duo SSO on their device they'll see a Sign in with Duo button on the website or their applications that they can click. They will be redirected to Duo SSO to begin authentication.
Active Directory Login
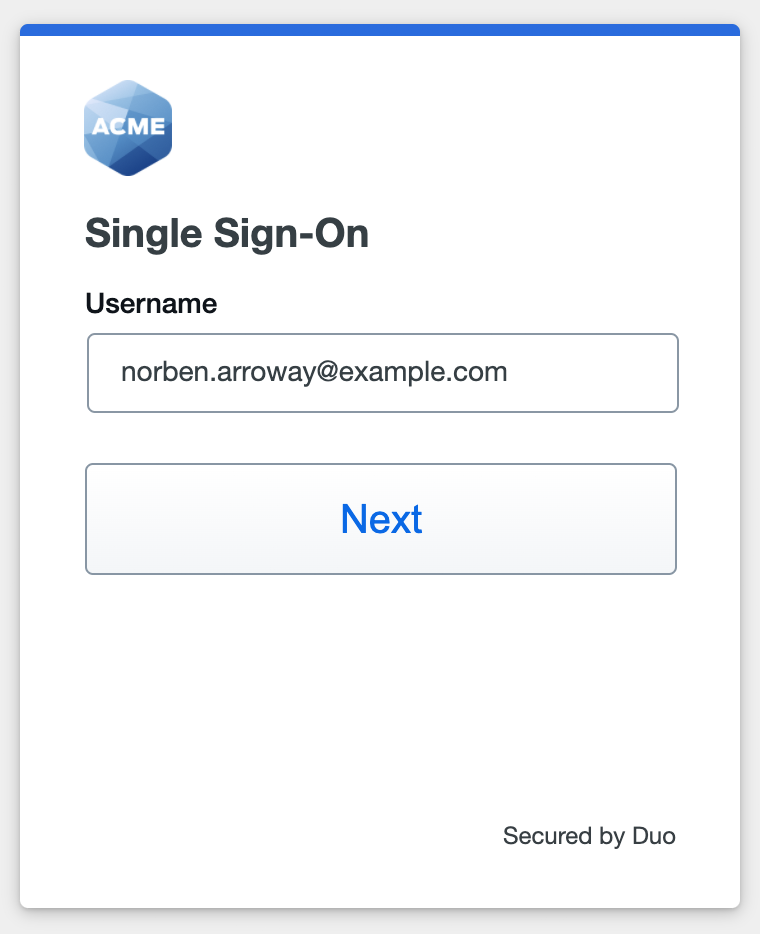
With Active Directory as the Duo SSO authentication source, enter the primary username (email address) on the Duo SSO login page and click or tap Next.
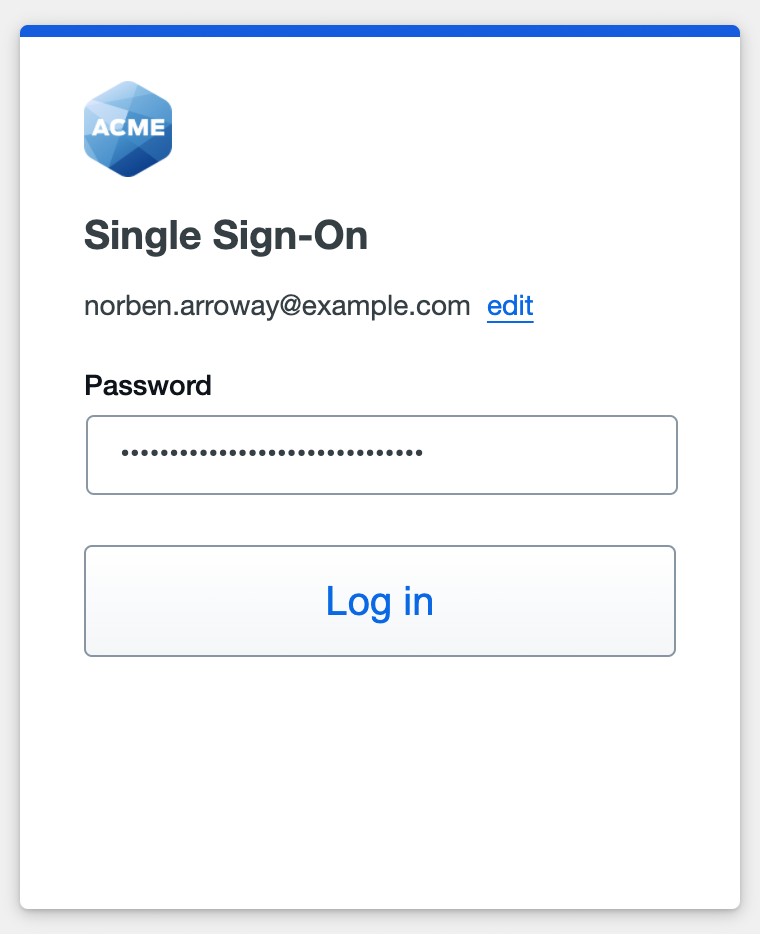
Enter the AD primary password and click or tap Log in to continue.
SAML Login
With a SAML identity provider as the Duo SSO authentication source, Duo SSO immediately redirects the login attempt to that SAML IdP for primary authentication. Users do not see the Duo SSO primary login screen.
Duo Authentication
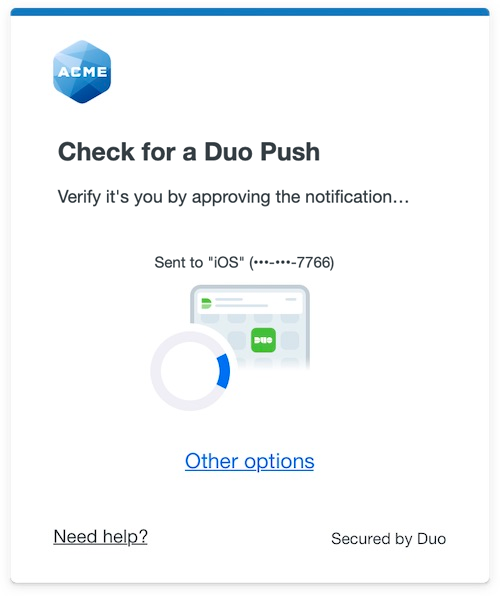
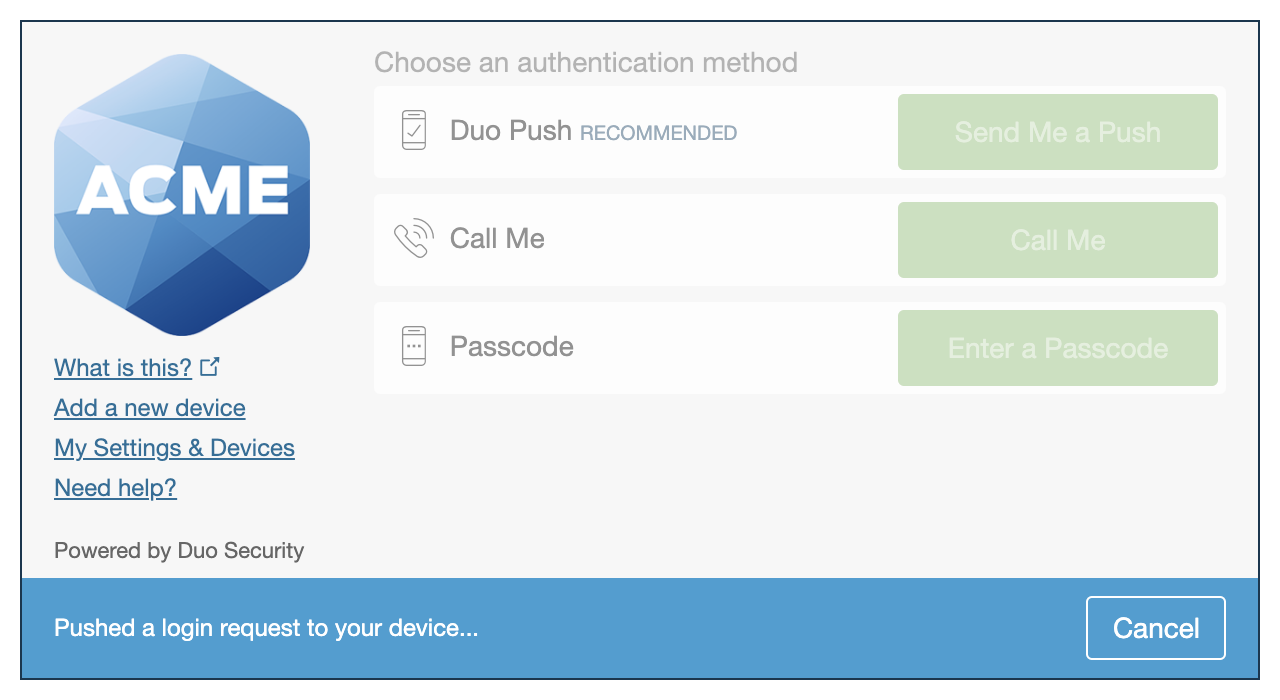
Successful verification of your primary credentials by Active Directory or a SAML IdP redirects back to Duo. Complete Duo two-factor authentication when prompted and then get redirected back to 1Password to complete the login process.
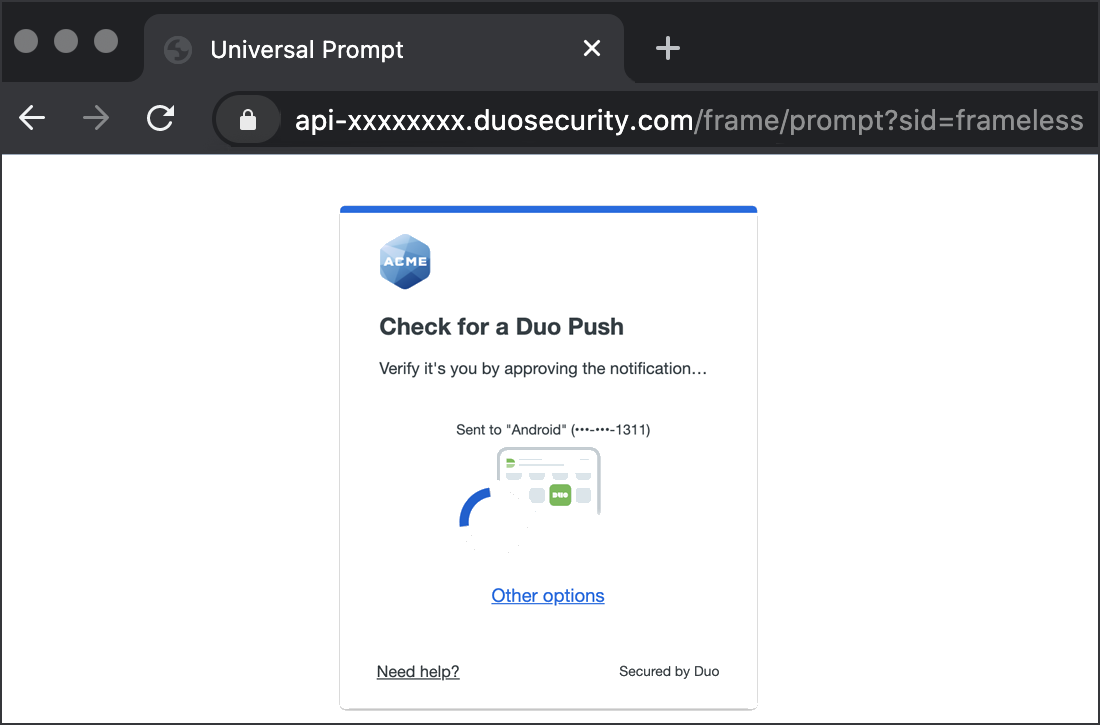
*Universal Prompt experience shown.
Grant Access to Users
If you did not already grant user access to the Duo users you want to use this application be sure to do that before inviting or requiring them to log in with Duo.
Add Ownership and Risk Information
Go to the "Ownership and Risk" section of the application's page in the Duo Admin Panel to assign application owners and classify the application's risk level. Cisco Identity Intelligence automatically imports this information to populate relevant fields for Duo Advantage and Premier customers. Duo Essentials plans exclude Cisco Identity Intelligence features.
You may set any of the following:
- Technical Owner: Search for and assign Duo users responsible for technical configuration and maintenance of this application.
- Business Owner: Search for and assign Duo users responsible for business decisions and access approvals related to this application.
- Application Sensitivity: Select this application's risk level from the drop-down list. Default: Not Set.
- Compliance Requirements: Select any applicable regulatory frameworks for this application (SOX (Sarbanes-Oxley), HIPAA, PCI-DSS, etc.) from the list.
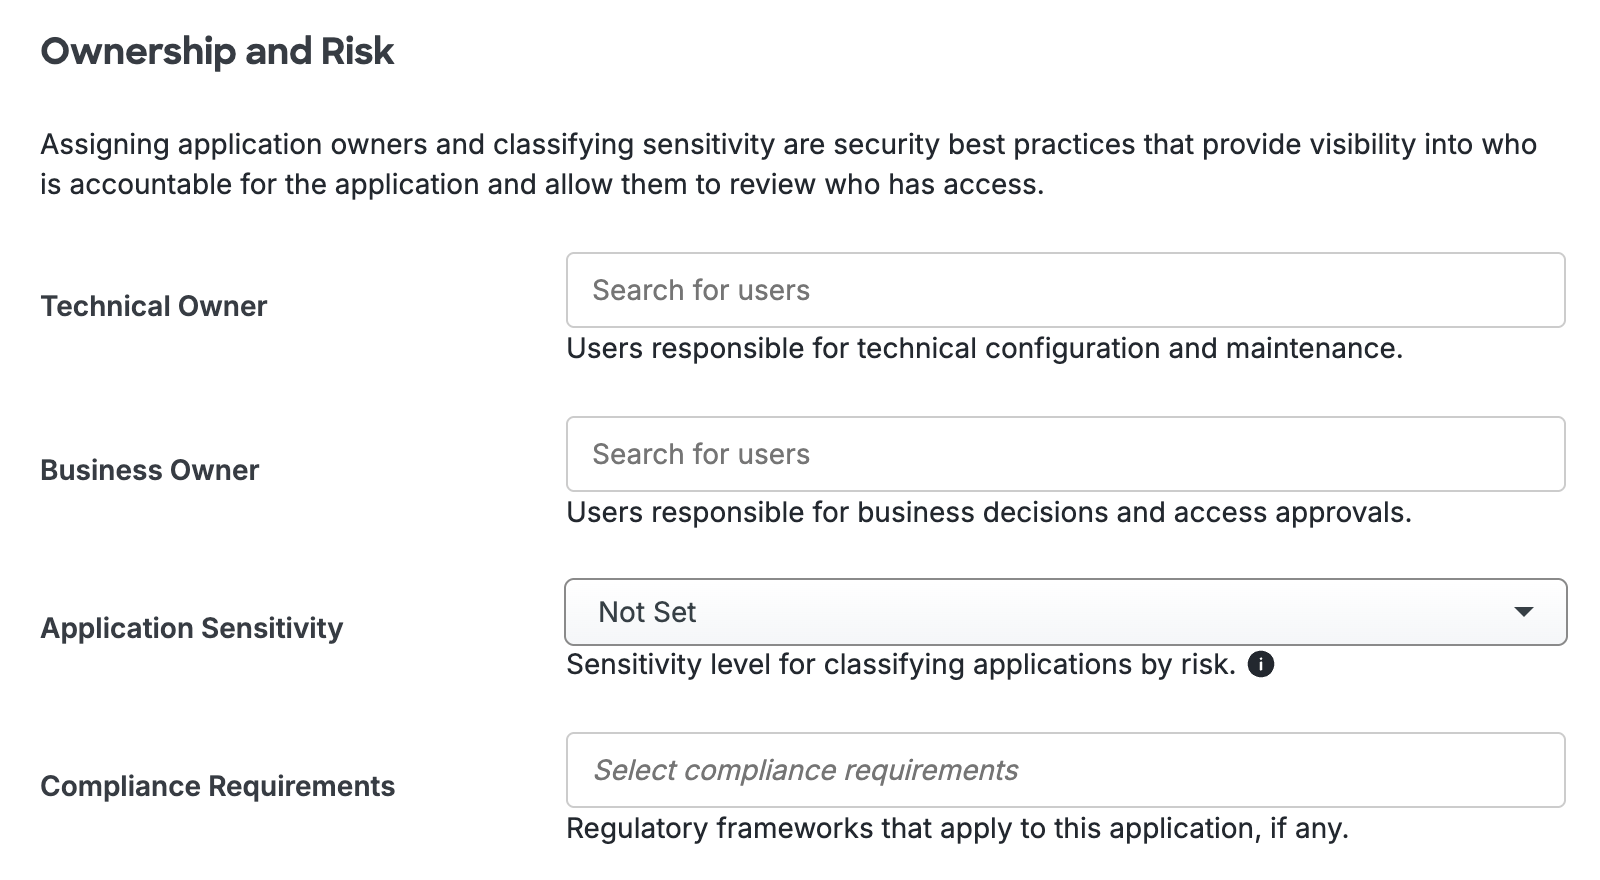
Scroll to the bottom of the page and click Save to apply your changes.
Automated Provisioning
You may be able to create, manage, and delete users and groups in this application automatically from Duo using SCIM 2.0 provisioning. See Automated Provisioning to learn how.
Troubleshooting
Need some help? Try searching our Knowledge Base articles or Community discussions. For further assistance, contact Support.