Duo Single Sign-On for ConnectWise ScreenConnect
Last updated:
Overview
As business applications move from on-premises to cloud hosted solutions, users experience password fatigue due to disparate logons for different applications. Single sign-on (SSO) technologies seek to unify identities across systems and reduce the number of different credentials a user has to remember or input to gain access to resources.
While SSO is convenient for users, it presents new security challenges. If a user's primary password is compromised, attackers may be able to gain access to multiple resources. In addition, as sensitive information makes its way to cloud-hosted services it is even more important to secure access by implementing two-factor authentication and zero-trust policies.
About Duo Single Sign-On
Duo Single Sign-On is our cloud-hosted SSO product which layers Duo's strong authentication and flexible policy engine on top of ConnectWise ScreenConnect logins. Duo Single Sign-On acts as an identity provider (IdP), authenticating your users using existing on-premises Active Directory (AD) or another SSO IdP. Duo SSO prompts users for two-factor authentication and performs endpoint assessment and verification before permitting access to ConnectWise ScreenConnect.
Duo Single Sign-On is available in Duo Premier, Duo Advantage, and Duo Essentials plans, which also include the ability to define policies that enforce unique controls for each individual SSO application. For example, you can require that Salesforce users complete two-factor authentication at every login, but only once every seven days when accessing ConnectWise ScreenConnect. Duo checks the user, device, and network against an application's policy before allowing access to the application.
Configure Single Sign-On
Before configuring ConnectWise ScreenConnect with Duo SSO using Security Assertion Markup Language (SAML) 2.0 authentication you'll first need to configure a working authentication source.
Once you have your SSO authentication source working, continue to the next step of creating the ConnectWise ScreenConnect application in Duo.
Create the ConnectWise ScreenConnect Application in Duo
-
Log in to the Duo Admin Panel and navigate to Applications → Application Catalog.
-
Locate the entry for ConnectWise ScreenConnect with the "SSO" label in the catalog. Click the + Add button to start configuring ConnectWise ScreenConnect. See Protecting Applications for more information about protecting applications with Duo and additional application options. You'll need the information on the ConnectWise ScreenConnect page later to complete your setup.
-
No active Duo users can log in to new applications until you grant access. Update the User access setting to grant access to this application to users in selected Duo groups, or to all users. Learn more about user access to applications. If you do not change this setting now, be sure to update it so that your test user has access before you test your setup.
This setting only applies to users who exist in Duo with "Active" status. This does not affect application access for existing users with "Bypass" status, existing users for whom the effective Authentication Policy for the application specifies "Bypass 2FA" or "Skip MFA", or users who do not exist in Duo when the effective New User Policy for the application allows access to users unknown to Duo without MFA. -
ConnectWise ScreenConnect uses the Mail attribute, Username attribute, and Display name attribute when authenticating. We've mapped these attributes to external authentication source attributes as follows:
Default Attribute Active Directory SAML IdP <Email Address> mail Email <Username> sAMAccountName Username <Display Name> displayName DisplayName If you are using non-standard attributes for your authentication source, check the Custom attributes box and enter the names of the attributes you wish to use instead.
-
You can adjust additional settings for your new SAML application at this time — like changing the application's name from the default value, enabling self-service, or assigning a group policy.
-
Keep the Duo Admin Panel tab open. You will come back to it later.
Duo Universal Prompt
The Duo Universal Prompt provides a simplified and accessible Duo login experience for web-based applications, offering a redesigned visual interface with security and usability enhancements.
| Universal Prompt | Traditional Prompt |
 |
 |
The Duo ConnectWise ScreenConnect application supports the Universal Prompt by default, so there's no additional action required on your part to start using the newest authentication experience.
Activate Universal Prompt
Activation of the Universal Prompt is a per-application change. Activating it for one application does not change the login experience for your other Duo applications. Universal Prompt is already activated for new ConnectWise ScreenConnect applications at creation.
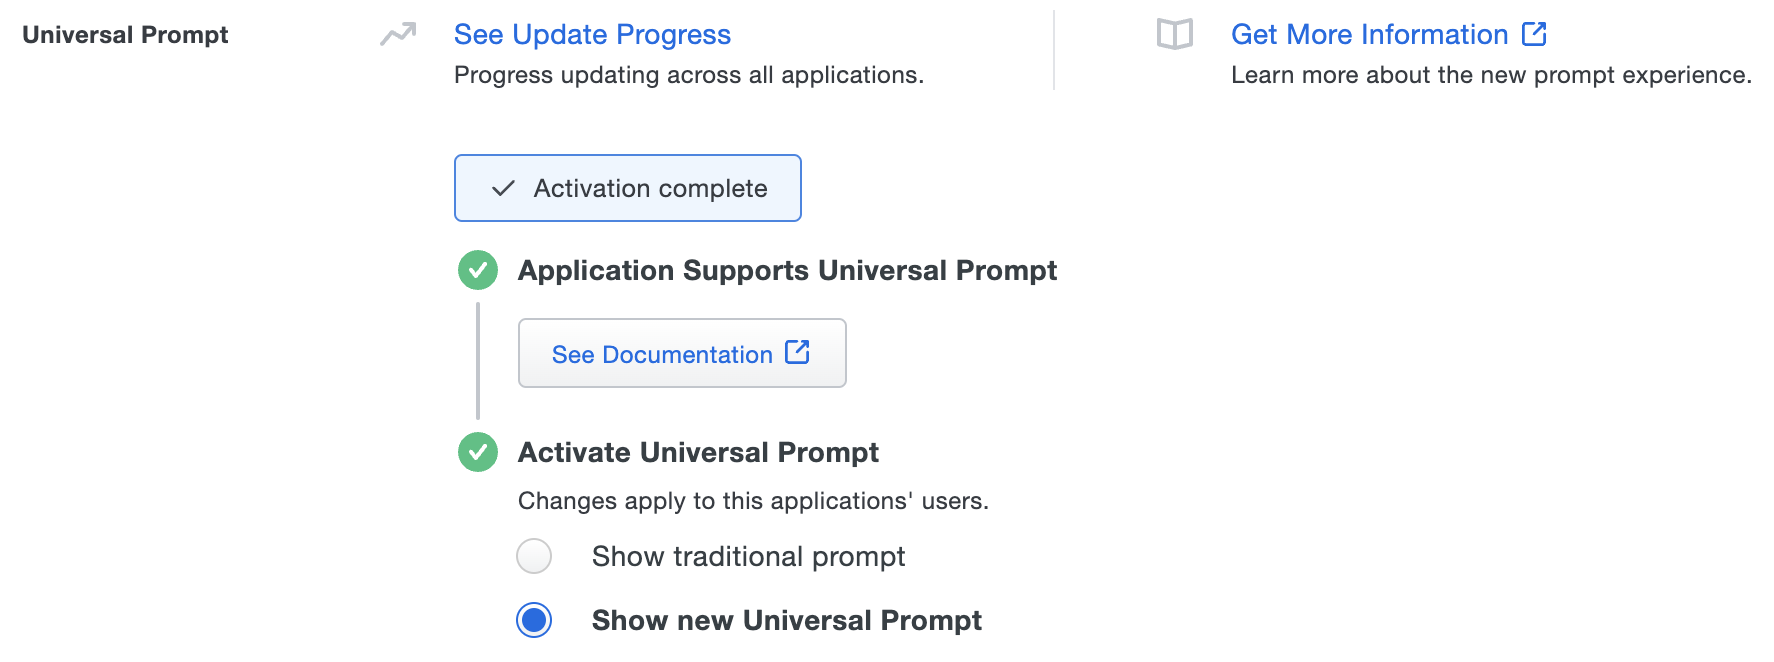
The "Universal Prompt" area of the application details page shows that this application's status is "Activation complete", with these activation control options:
- Show traditional prompt: Your users experience Duo's traditional prompt via redirect when logging in to this application.
- Show new Universal Prompt: (Default) Your users experience the Universal Prompt via redirect when logging in to this application.
The application's Universal Prompt status shows "Activation complete" both here and on the Universal Prompt Update Progress report.
For the time being, you may change this setting to Show traditional prompt to use the legacy experience. Keep in mind that support for the traditional Duo prompt ended for the majority of applications in March 2024. This option will be removed in the future.
Universal Update Progress
Click the See Update Progress link to view the Universal Prompt Update Progress report. This report shows the update availability and migration progress for all your Duo applications. You can also activate the new prompt experience for multiple supported applications from the report page instead of visiting the individual details pages for each application.
Enable ConnectWise ScreenConnect for SSO
-
Log into your ConnectWise ScreenConnect account as an administrator.
-
In the left menu sidebar, navigate to Admin → Security. The "Security" page opens.
-
In the "User Sources" section, click the Add User Source drop-down menu and select SAML.
-
In the "SAML (disabled)" box, click the ... menu icon and select Configure. The "Edit User Source Configuration" pop-up window opens.
-
Return to the Duo Admin Panel. Under "Metadata", copy the IdentityProviderMetadataURL and paste it into the "Edit User Source Configuration" pop-up window IdentityProviderMetadataURL field.

-
In the "Edit User Source Configuration" pop-up window, type UserName into the UserNameAttributeKey field.
-
Type DisplayName into the UserDisplayNameAttributeKey field.
-
Type EmailAddress into the EmailAttributeKey field.
-
Type groups into the RoleNamesAttributeKey field.
-
Click SAVE CONFIGURATION.
-
In the "SAML (disabled)" box, click the ... menu icon and select Generate Metadata. The XML metadata file opens in a new tab.
-
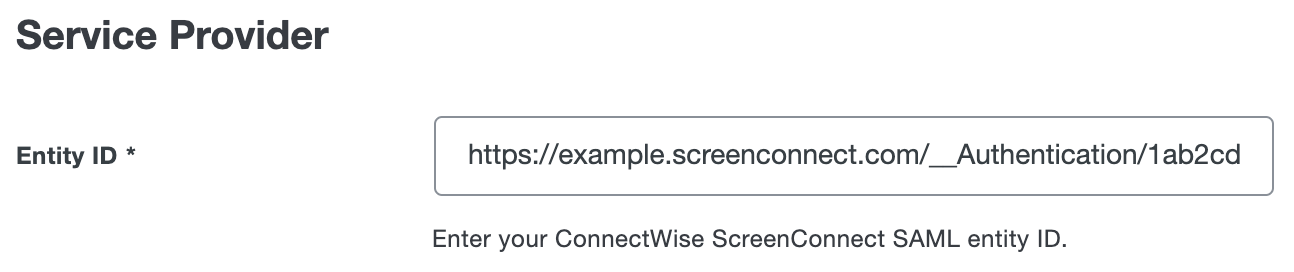
In the XML metadata file tab, copy the EntityID and paste it into the Duo Admin Panel Entity ID field, under "Service Provider".

-
In the Duo Admin Panel, scroll to the bottom of the page and click Save.
-
Return to the ConnectWise ScreenConnect "Security" page. In the "SAML (disabled)" box, click the ... menu icon and select Enable. The "Enable User Source" pop-up window opens.
-
Click ENABLE USER SOURCE.
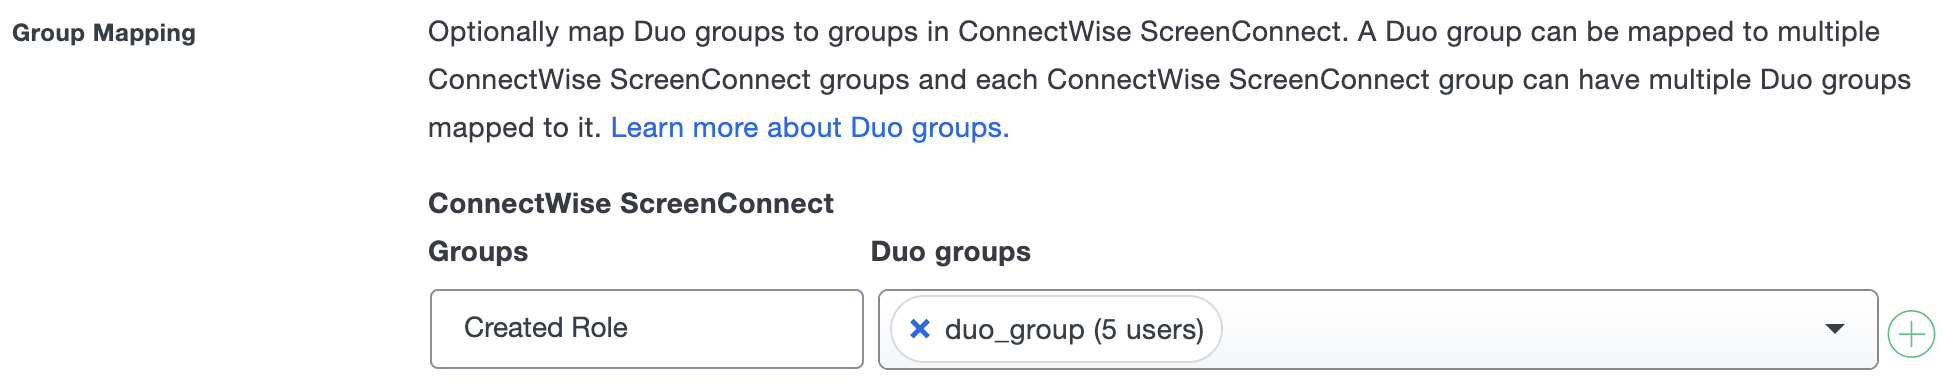
Group Mapping
You have the option to map Duo groups to different roles in ConnectWise ScreenConnect. You can create a new role, edit an existing role, or clone an existing role.
Create a New Role
-
Log into your ConnectWise ScreenConnect account as an administrator.
-
In the left menu sidebar, navigate to Admin → Security. The "Security" page opens.
-
In the "Roles" section, click Create Role. The "Create Role" pop-up window opens.
-
Enter a unique name for your role into the Role Name field.
-
Assign the desired permissions and then click Save Role.
-
Return to the Duo Admin Panel. Under "Service Provider", enter the name of the role you created into the ConnectWise ScreenConnect Groups field.
-
In the Duo Admin Panel, click the Duo groups drop-down menu and select the applicable Duo group.
-
Scroll to the bottom of the page and click Save.
Edit an Existing Role
-
Log into your ConnectWise ScreenConnect account as an administrator.
-
In the left menu sidebar, navigate to Admin → Security. The "Security" page opens.
-
In the "Roles" section, click Edit next to the role you want to modify. The "Edit Role" pop-up window opens.
-
Edit the desired permissions and then click Save Role.
-
Return to the Duo Admin Panel. Under "Service Provider", enter the name of the role you edited into the ConnectWise ScreenConnect Groups field.
-
In the Duo Admin Panel, click the Duo groups drop-down menu and select the applicable Duo group.

-
Scroll to the bottom of the page and click Save.
Clone an Existing Role
-
Log into your ConnectWise ScreenConnect account as an administrator.
-
In the left menu sidebar, navigate to Admin → Security. The "Security" page opens.
-
In the "Roles" section, click click Clone next to the role you want to modify. The "Clone Role" pop-up window opens.
-
Enter a unique name for your role into the Role Name field.
-
Edit the desired permissions and then click Save Role.
-
Return to the Duo Admin Panel. Under "Service Provider", enter the name of the role you cloned into the ConnectWise ScreenConnect Groups field.
-
In the Duo Admin Panel, click the Duo groups drop-down menu and select the applicable Duo group.

-
Scroll to the bottom of the page and click Save.
Learn more about ConnectWise ScreenConnect SSO at ConnectWise University.
Using SSO
You can log on to ConnectWise ScreenConnect by navigating to your ConnectWise ScreenConnect SSO page e.g., https://example.screenconnect.com/login. Click Connect with to be redirected to Duo Single Sign-On to begin authentication.
Duo SSO Login
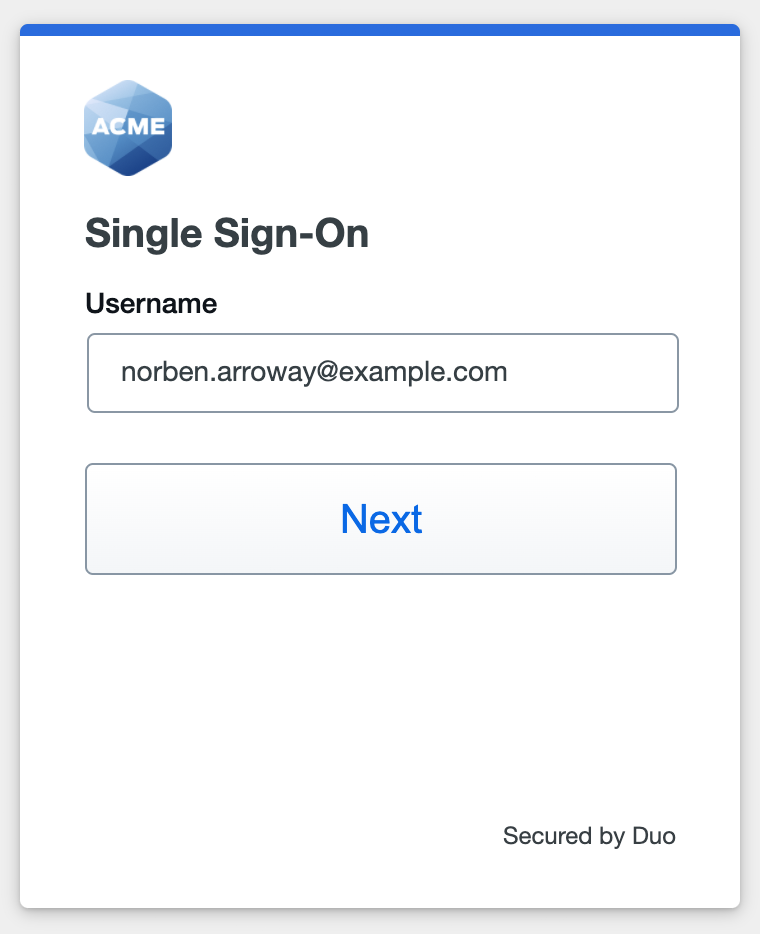
Enter the primary username (email address) on the Duo SSO login page and click or tap Next.
Enter the Duo Directory or AD primary password and click or tap Log in to continue.
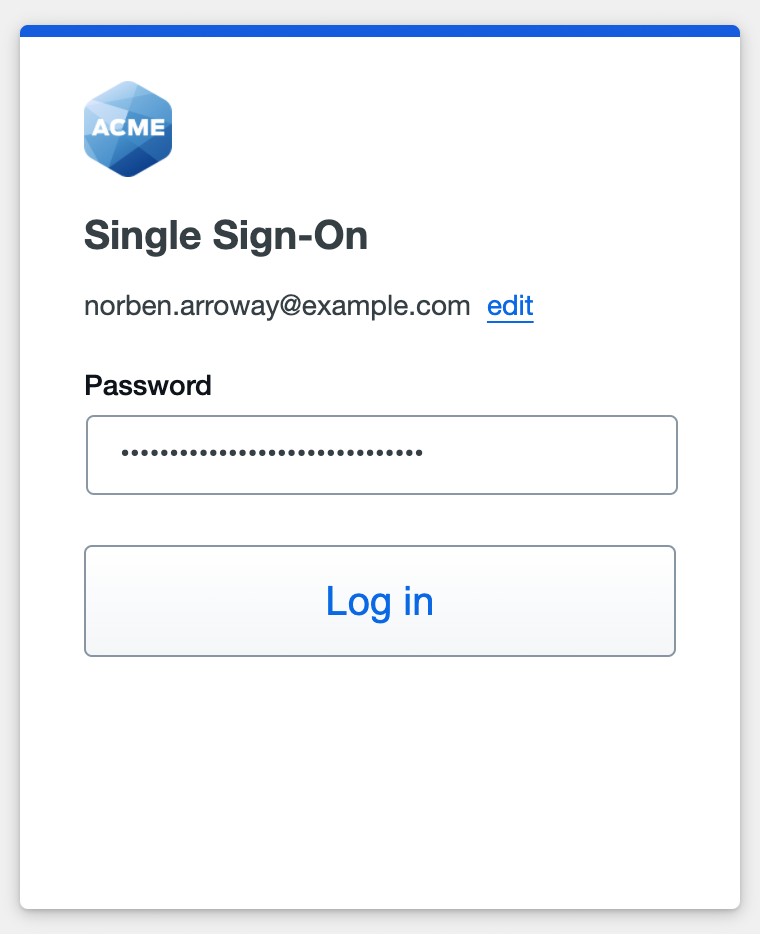
Enable Duo Passwordless to log in to Duo SSO without entering a password in the future.
SAML Login
The SAML login experience depends on your Duo SSO routing rules configuration.
With another SAML identity provider as the only enabled Duo SSO authentication source and the default routing rule in place, Duo SSO immediately redirects the login attempt to that SAML IdP for primary authentication. Users do not see the Duo SSO primary login screen.
If you have multiple enabled SAML authentication sources or custom routing rules in place, then users enter their primary username (email address) on the Duo SSO login page and then will be redirected to the correct external SAML identity provider.
Duo Authentication
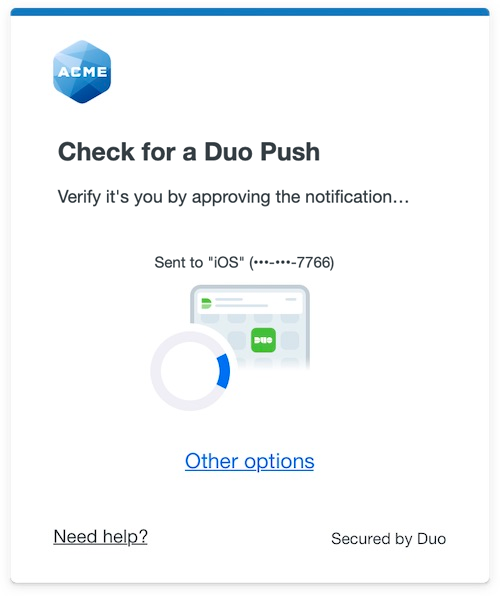
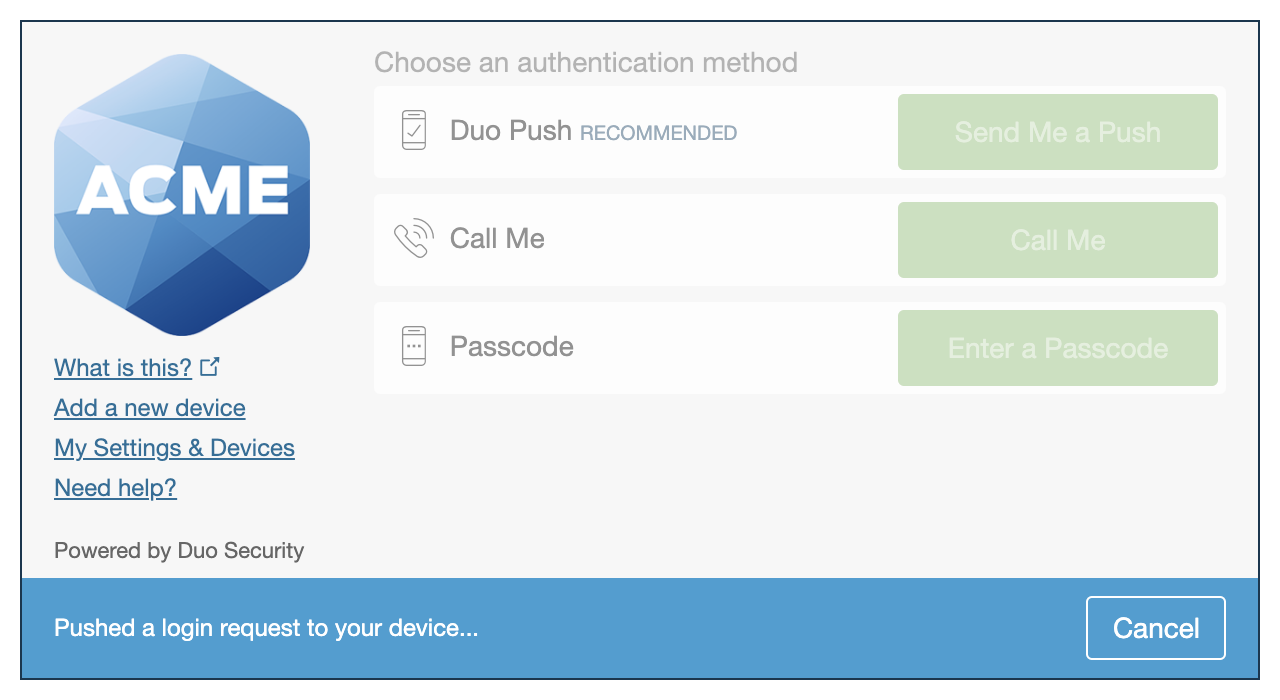
Successful verification of your primary credentials redirects back to Duo. Complete Duo two-factor authentication when prompted and then you'll return to ConnectWise ScreenConnect to complete the login process.
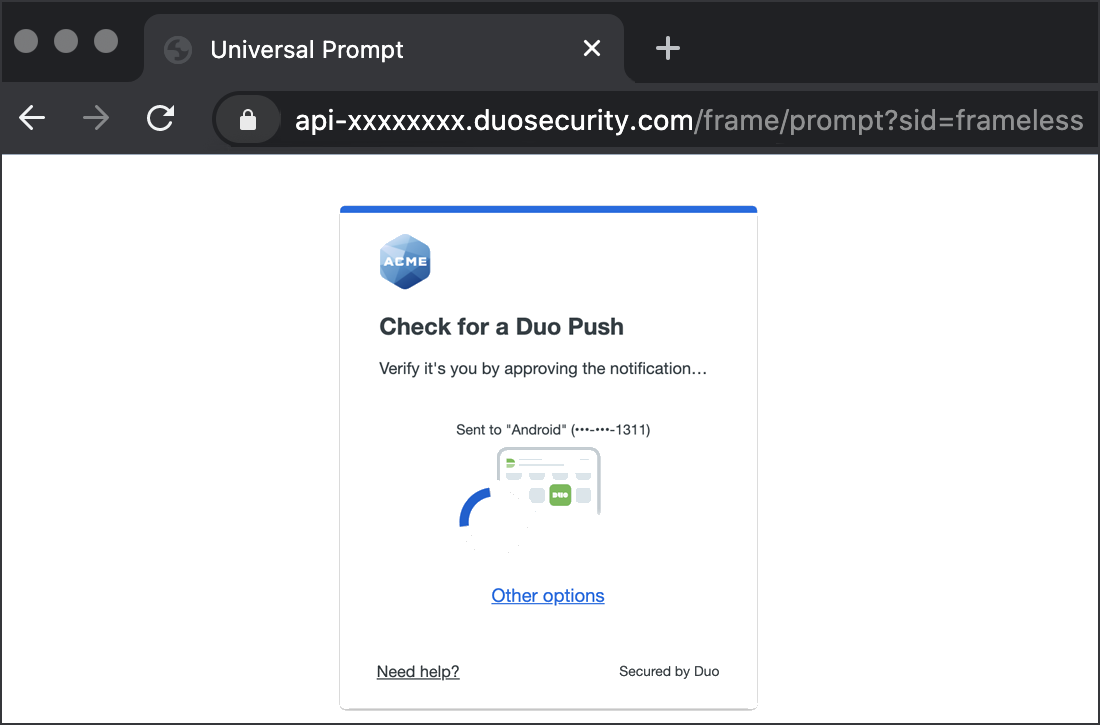
* Universal Prompt experience shown.
You can also log into ConnectWise ScreenConnect using Duo Central, our cloud-hosted portal which allows users to access all of their applications in one spot. Link to ConnectWise ScreenConnect in Duo Central by adding it as an application tile. Once the tile has been added, log into Duo Central and click the tile for IdP-initiated authentication to ConnectWise ScreenConnect.
Congratulations! Your ConnectWise ScreenConnect users now authenticate using Duo Single Sign-On.
See the full user login experience, including expired password reset (available for Active Directory authentication sources) in the Duo End User Guide for SSO.
Grant Access to Users
If you did not already grant user access to the Duo users you want to use this application be sure to do that before inviting or requiring them to log in with Duo.
Enable Remembered Devices
To minimize additional Duo two-factor prompts when switching between ConnectWise ScreenConnect and your other Duo Single Sign-On SAML applications, be sure to apply a shared "Remembered Devices" policy to your SAML applications.
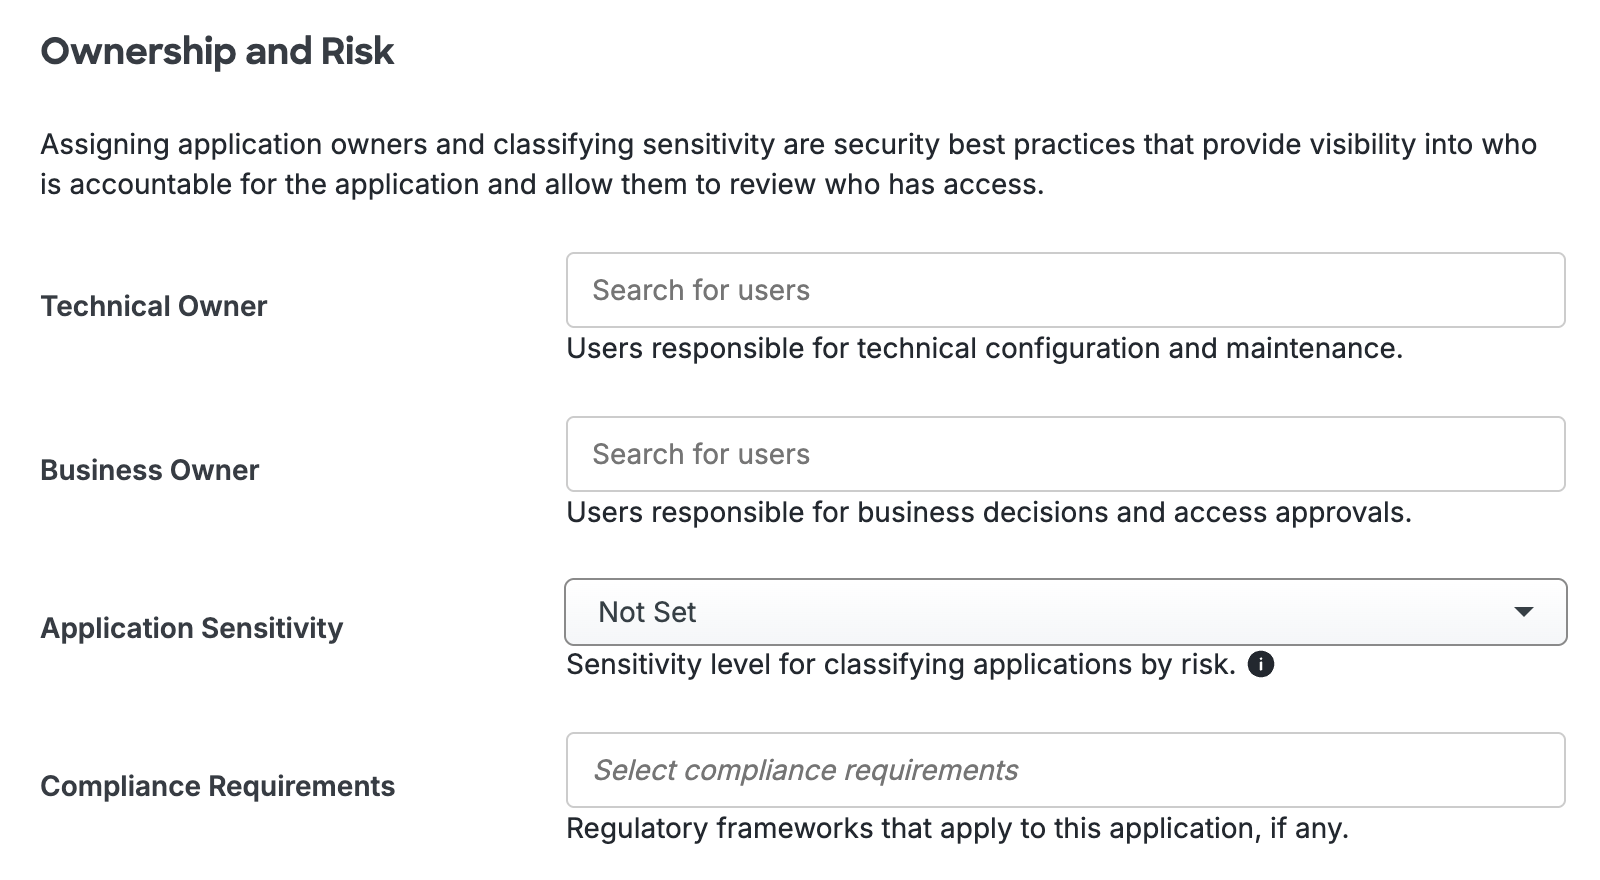
Add Ownership and Risk Information
Go to the "Ownership and Risk" section of the application's page in the Duo Admin Panel to assign application owners and classify the application's risk level. Cisco Identity Intelligence automatically imports this information to populate relevant fields for Duo Advantage and Premier customers. Duo Essentials plans exclude Cisco Identity Intelligence features.
You may set any of the following:
- Technical Owner: Search for and assign Duo users responsible for technical configuration and maintenance of this application.
- Business Owner: Search for and assign Duo users responsible for business decisions and access approvals related to this application.
- Application Sensitivity: Select this application's risk level from the drop-down list. Default: Not Set.
- Compliance Requirements: Select any applicable regulatory frameworks for this application (SOX (Sarbanes-Oxley), HIPAA, PCI-DSS, etc.) from the list.
Scroll to the bottom of the page and click Save to apply your changes.
Automated Provisioning
This application does not support automated creation and management of users and groups from Duo using SCIM 2.0 provisioning.
Troubleshooting
Need some help? Try searching our Knowledge Base articles or Community discussions. For further assistance, contact Support.