Migrate from Duo Access Gateway to Duo Single Sign-On
Last updated:
Overview
Duo Single Sign-On, Duo's cloud-hosted SAML identity provider, replaces your Duo Access Gateway (DAG) making it easier to deploy and manage SSO.
With Duo Single Sign-On you'll no longer need to setup and maintain an on-premises web server. This is all handled by Duo and hosted in the cloud. Additionally, when you make changes in the Duo Admin Panel, they will take effect immediately, unlike the previous process of downloading a new JSON file and uploading it to your Duo Access Gateway.
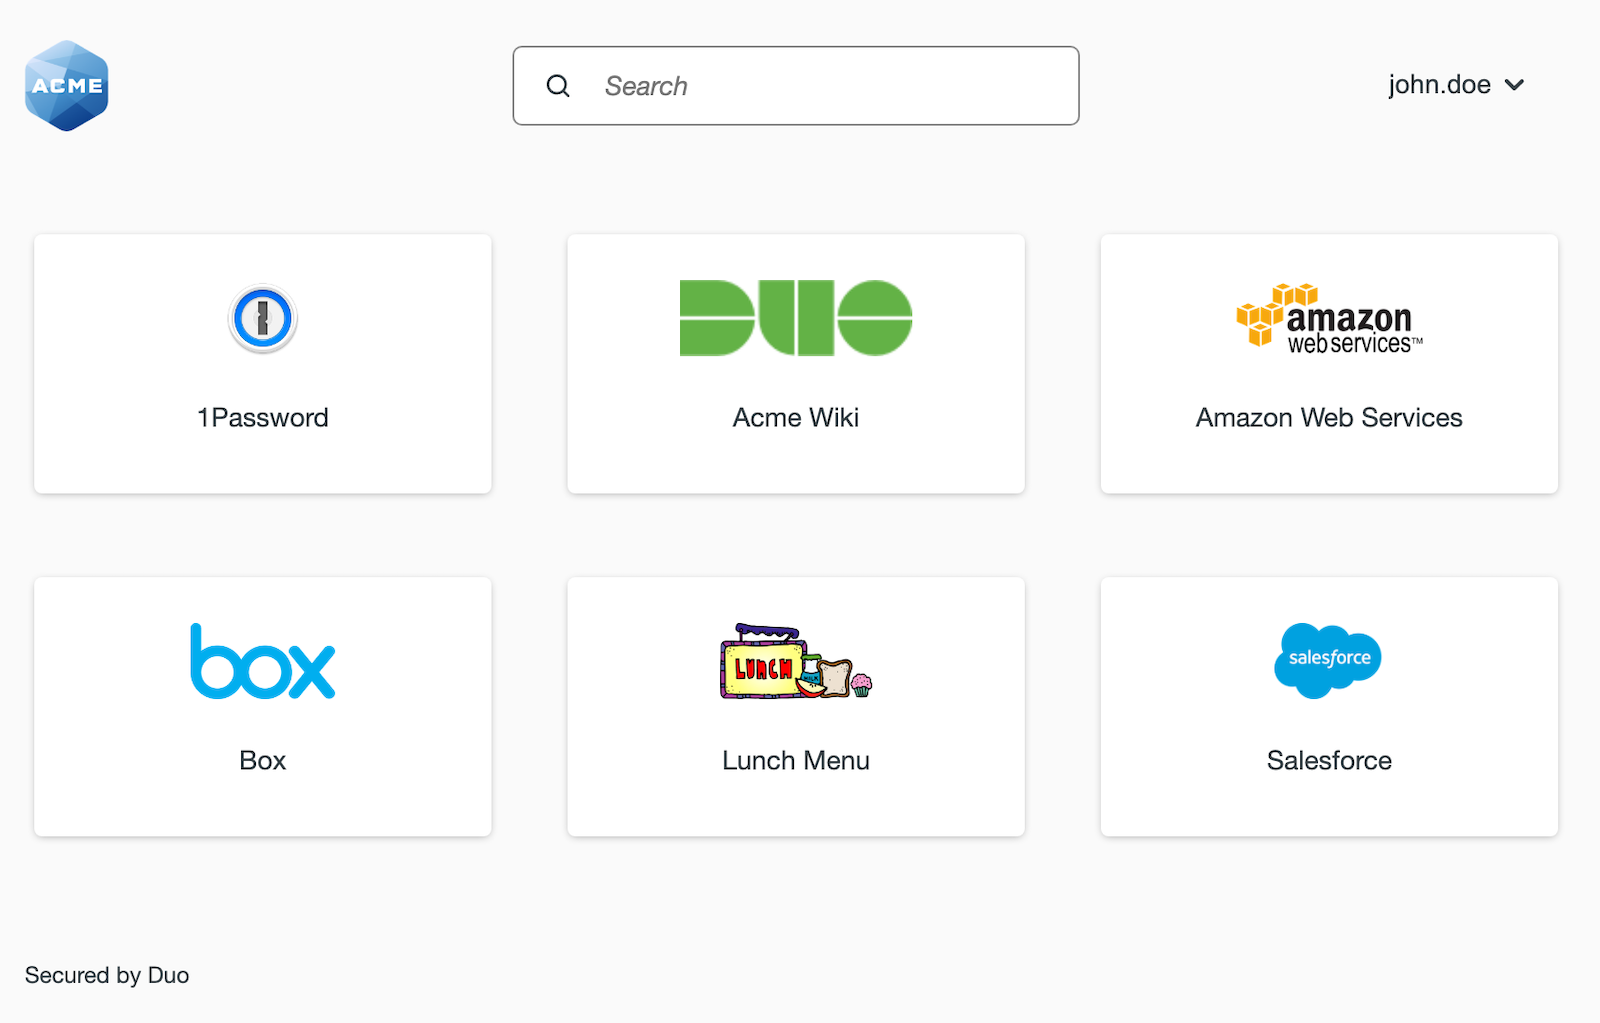
Duo Central is a user portal similar to the Duo Access Gateway Launcher. Duo Central is completely managed in the Duo Admin Panel and offers your users an updated, mobile-friendly design, featuring a new tile view and the ability to search for apps.
While most Duo Access Gateway applications can be migrated to Duo Single Sign-on using the instructions in this document, some cannot, including any named Duo Single Sign-On applications (Slack, Webex, Salesforce, etc.). Please follow the documentation for each of those named applications to deploy Duo Single Sign-On, create a Duo SSO version of your existing DAG application, and then configure the service provider to use Duo Single Sign-On.
Before you migrate any of your Duo Access Gateway apps, we recommend that you locate any available SAML documentation provided by the applications you plan to migrate.
Set up Duo Single Sign-On
Before you can start migrating your Duo Access Gateway applications you need to enable and configure Duo Single Sign-On:
-
Log in to the Duo Admin Panel.
-
Configure Duo Single Sign-On.
-
Configure an authentication source for Duo Single Sign-On.
Migrate an Application in the Duo Admin Panel
Once you've set up Duo Single Sign-On with an authentication source you're ready to migrate a Duo Access Gateway application over to Duo Single Sign-On.
This step will not delete, modify, or impact user logins to your existing Duo Access Gateway application in any way. The migration tool creates a new Duo Single Sign-On generic SAML application with all of your settings copied over from the original DAG application.
This process will only migrate settings saved in the Duo Admin Panel and not any custom modifications you may have made to the Duo Access Gateway JSON files after download.
-
While logged into the Duo Admin Panel navigate to Applications → Applications.
-
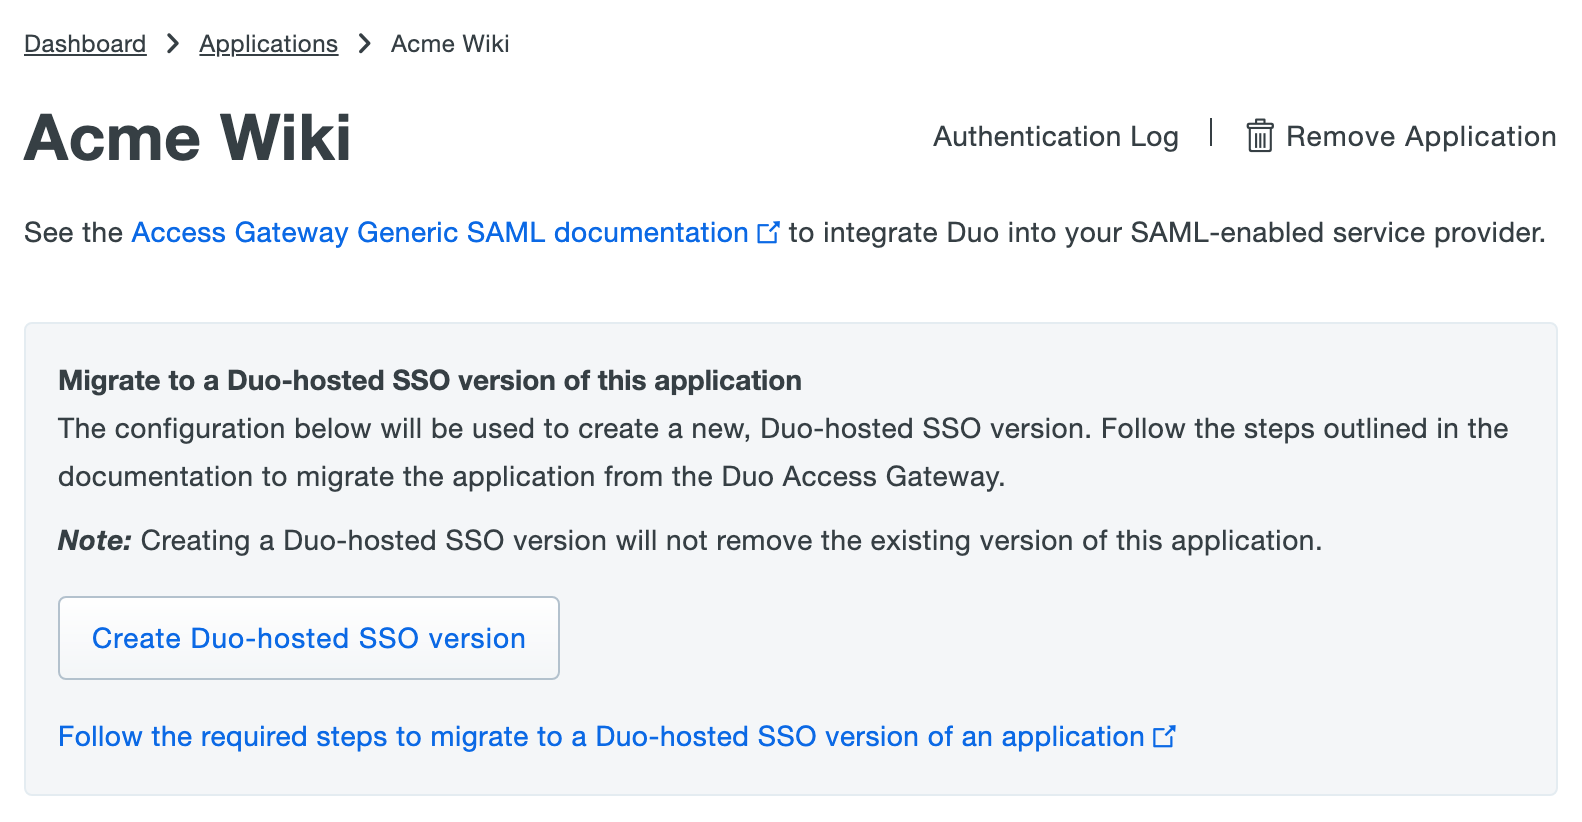
While on the "Applications" page you can find applications using the Duo Access Gateway by looking at the "Application Type" column for any types that end in - Duo Access Gateway. Click on the name of a Duo Access Gateway application you'd like to migrate.
-
If the application can be migrated (meaning that there is not a named Duo Single Sign-On version of that application), you'll see a banner offering the option to "Migrate to a Duo-hosted SSO version of this application". Click Create Duo-hosted SSO version.
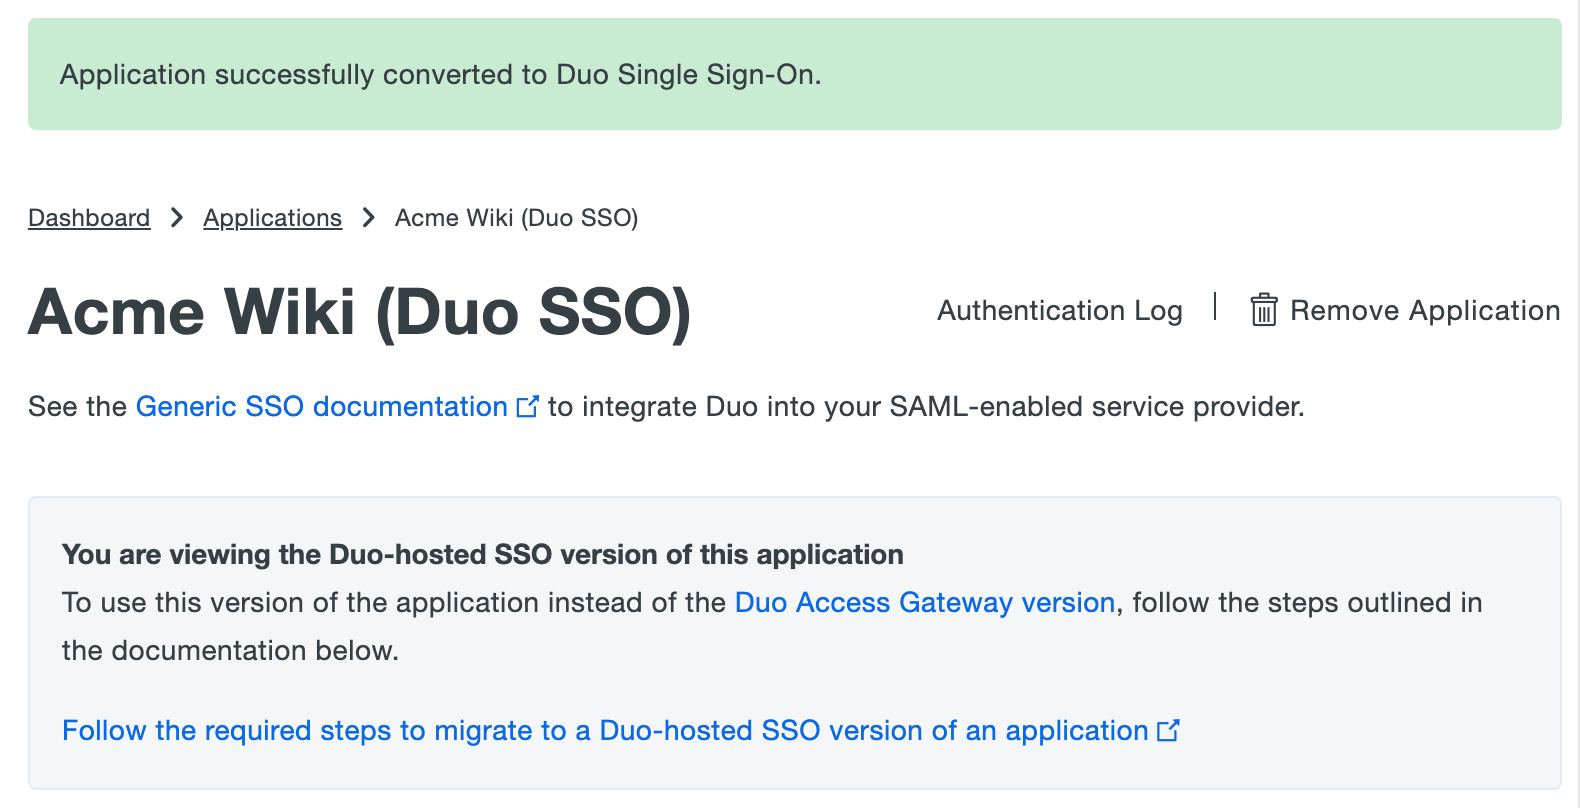
- You will be redirected to a newly created generic Duo Single Sign-On application with your application name and settings copied over from the Duo Access Gateway application. A banner at the top of the page will indicate you are on the Duo-hosted SSO version of this application.
-
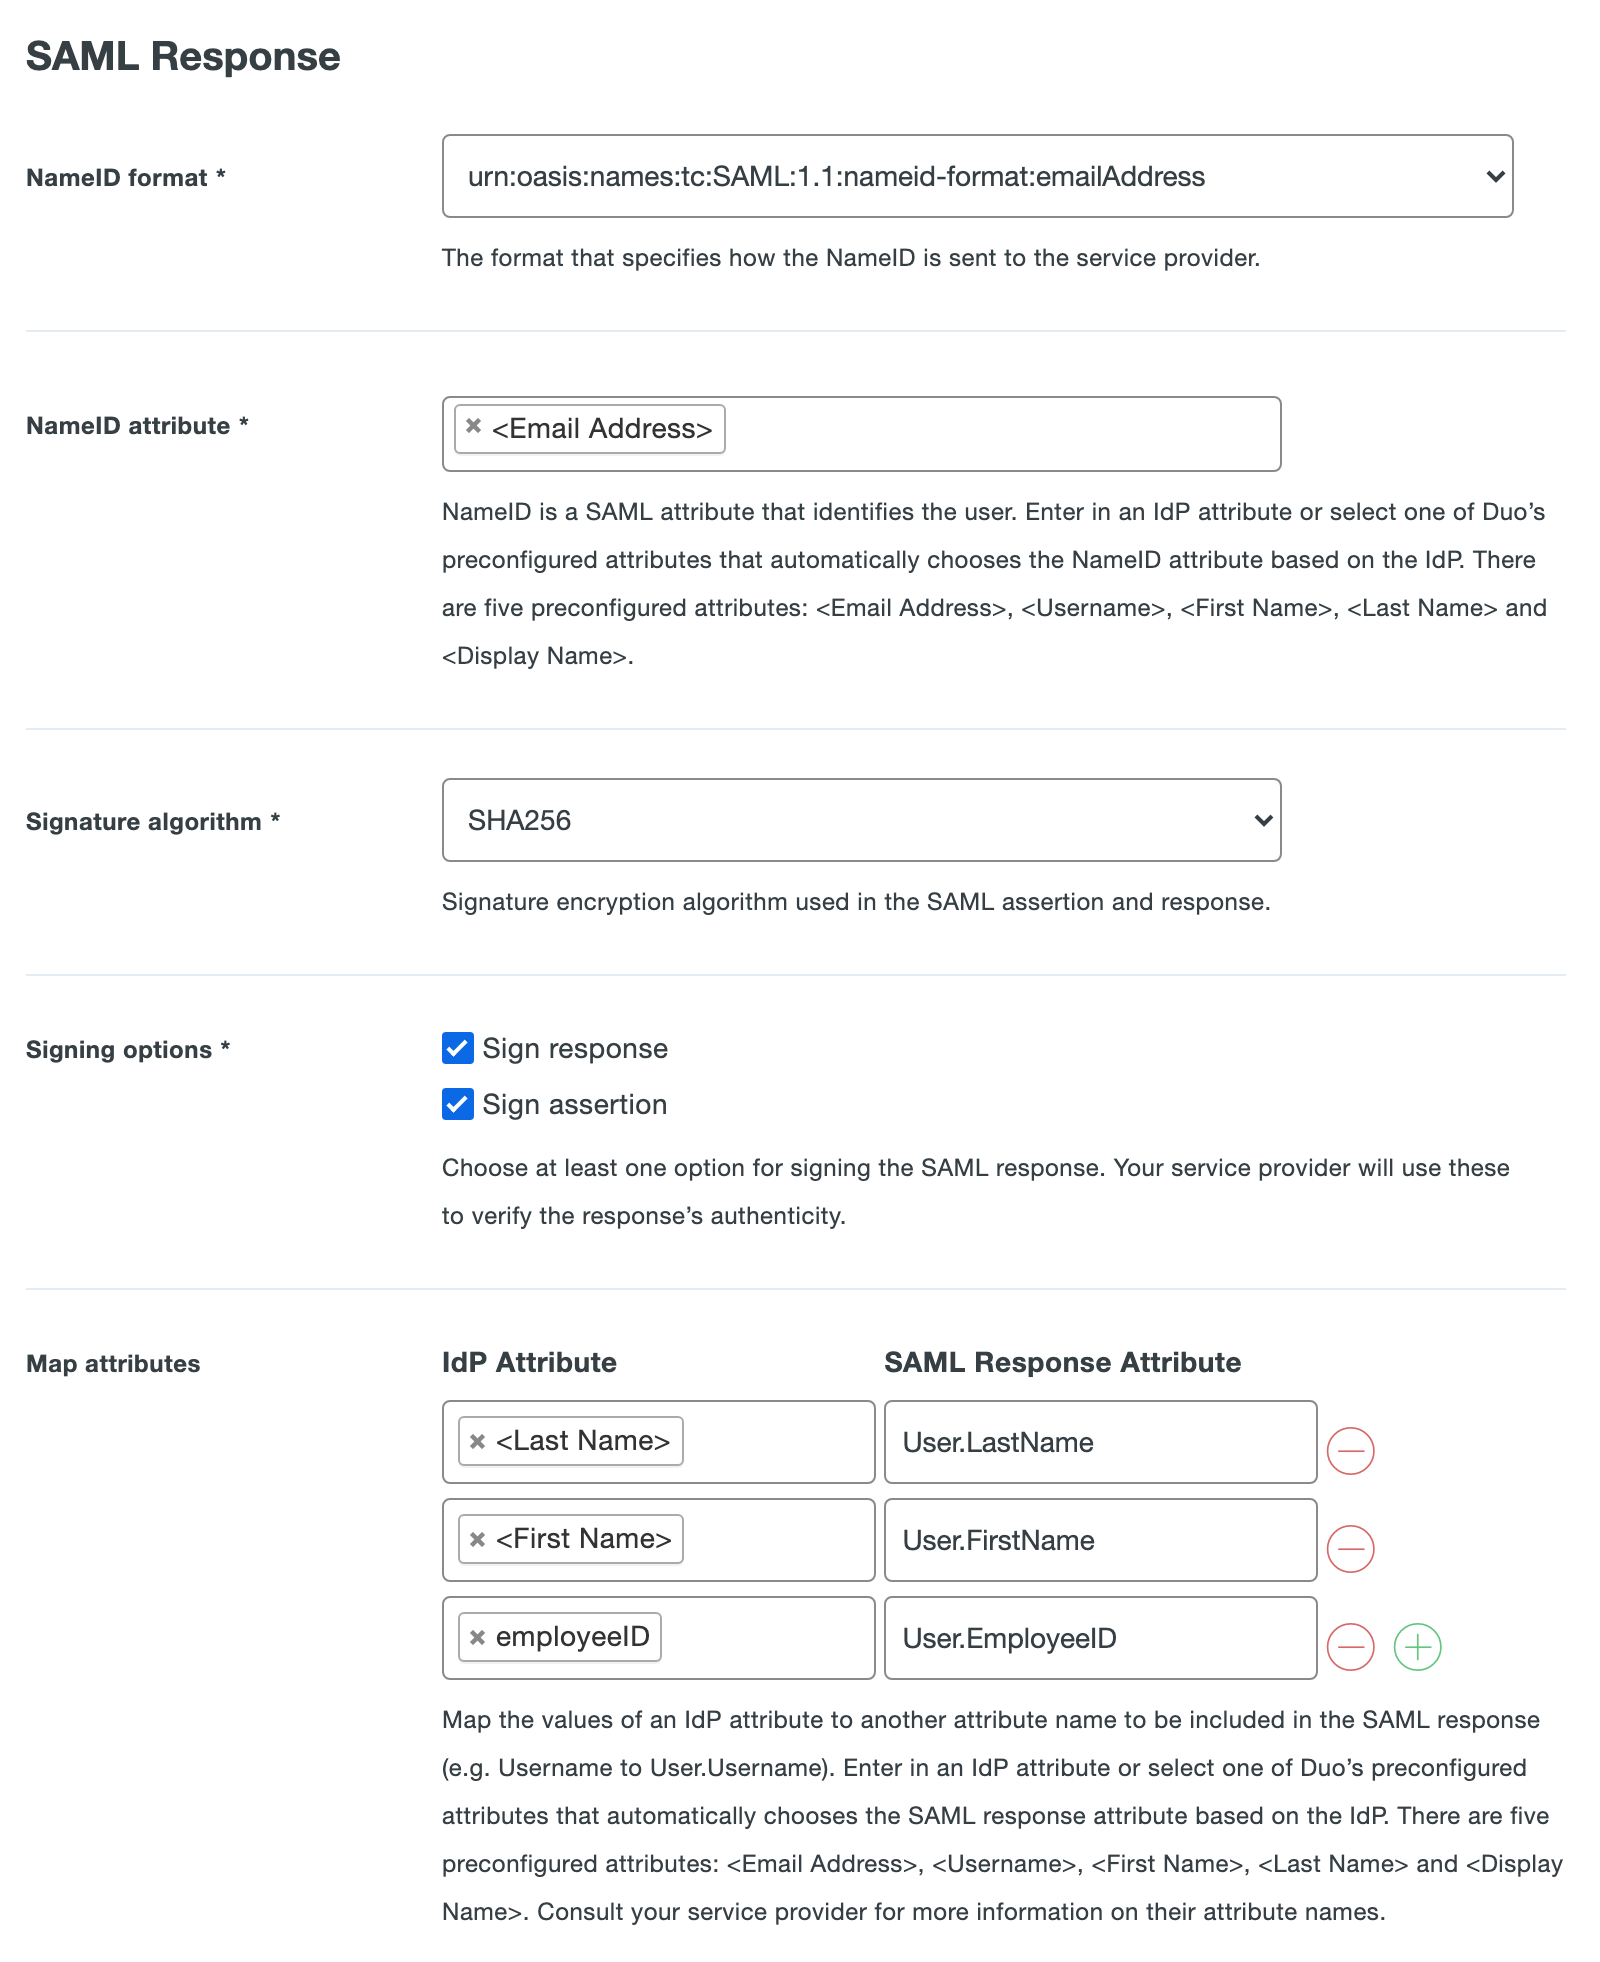
Scroll down to the "SAML Response" section of the page. Attributes from the original application will have been copied over and automatically converted to user attributes if possible. User attributes automatically map certain attributes from your authentication source. A user attribute is denoted with < > symbols around it.
- Check that the NameID attribute is either a user attribute or an attribute that exists in your Duo Single Sign-On authentication source.
- Check if there are any entries in Map attributes. If so, check the IdP Attribute field under each entry is either a user attribute or an attribute that exists in your Duo Single Sign-On authentication source.
If you made any changes, scroll to the bottom of the page and click Save.
Update Application Settings With Duo Single Sign-on Configuration
Now that you have a Duo Single Sign-On application in the Duo Admin Panel, you must update your application's SAML configuration with information from Duo Single Sign-On in order to start using Duo SSO. Updating your application to use Duo Single Sign-On could cause a brief login interruption for users as the settings are applied, so please plan accordingly.
-
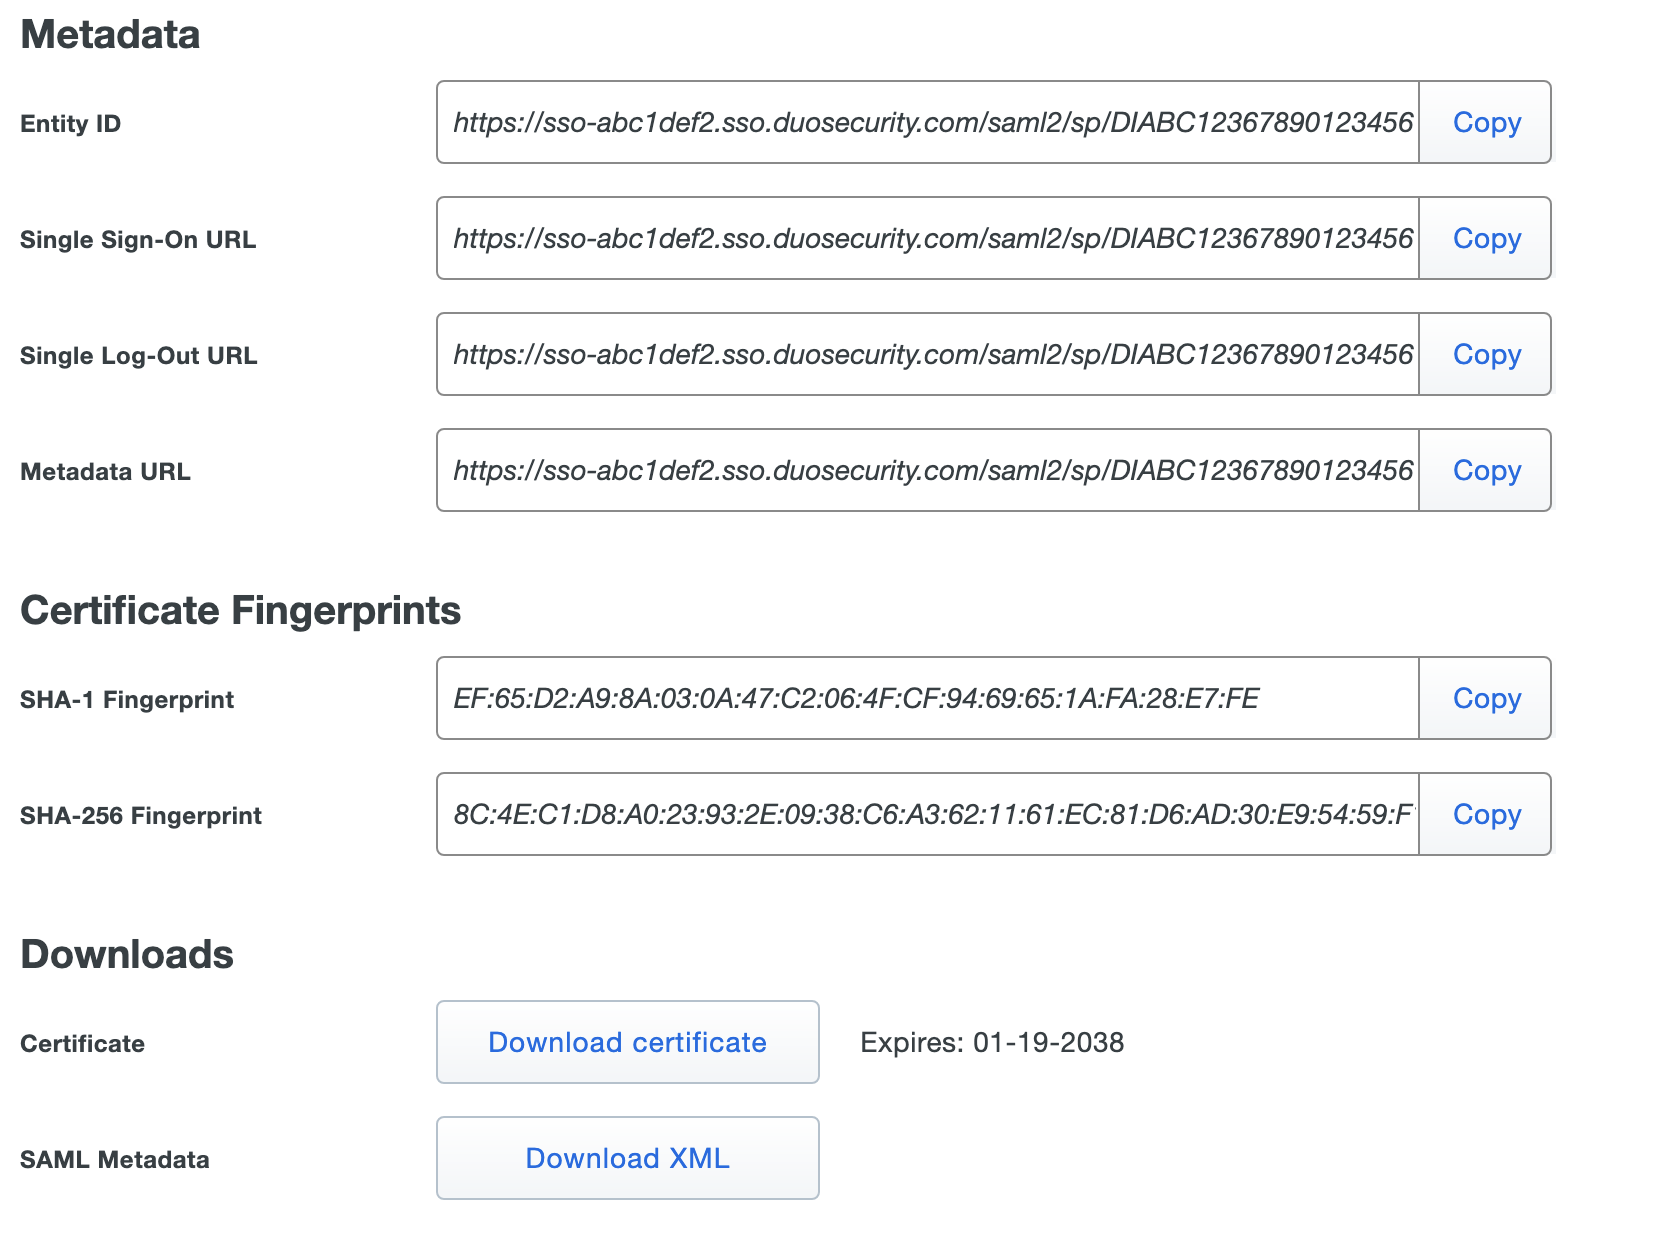
Locate the Metadata section at the top of your new Duo Single Sign-On application page in the Duo Admin Panel. Information from this section will be used to update the SAML settings for the application you're protecting.
-
Open a new window in your browser and log into the application that you are migrating from Duo Access Gateway to Duo Single Sign-On.
-
Navigate to the SAML settings for this application.
-
Use the Metadata section in the Duo Admin Panel window to update the SAML settings in your application. Refer to the application's documentation if you're unsure about which fields to update.
In most situations you'll be asked to provide one of the three following sets of information located under the Metadata section:
- The Entity ID, Single Sign-On URL, and Certificate file.
- The Metadata URL which will provide the Duo Single Sign-On settings to the application via a URL.
- The SAML Metadata XML file which will download an XML file to your computer to be uploaded to the application.
-
Save the changes made to the SAML settings in the application.
Verify SSO
You can log into most applications using SSO by visiting their website directly.
If your application supports IdP-initiated login, you can also use the Single Sign-On URL located under the "Metadata" section at the top of the application page in the Duo Admin Panel.
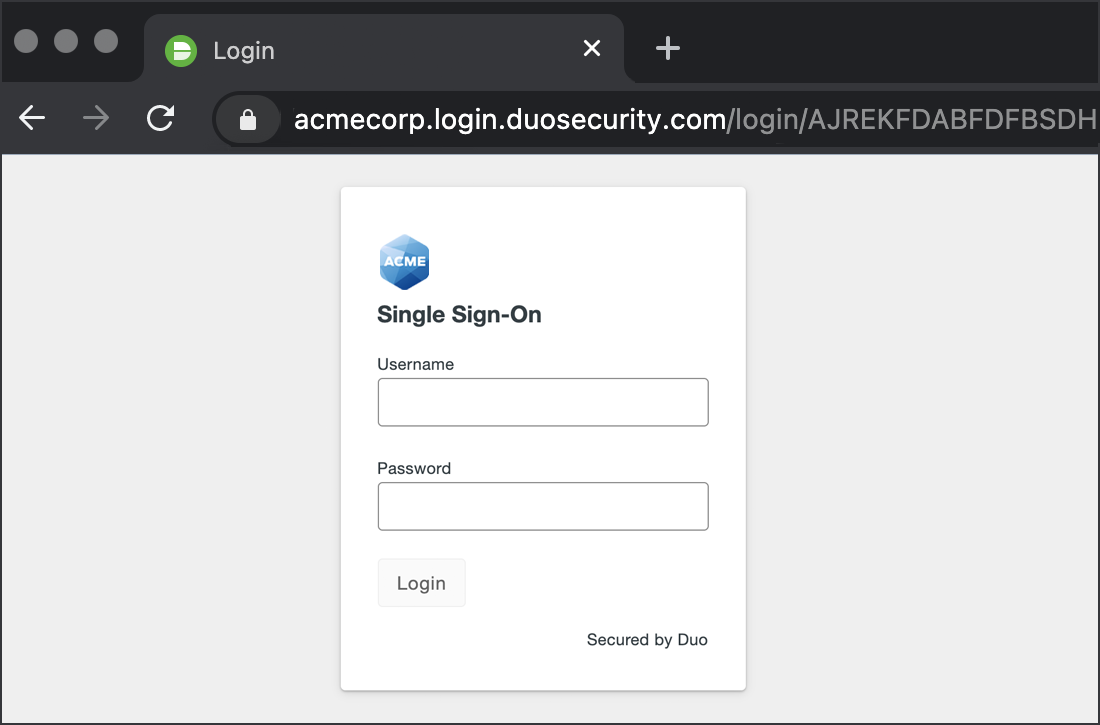
When you log into an application provided by Duo's Single Sign-On, you will be redirected to the active authentication source to complete first factor login. On successful first-factor login, you will be redirected to the Duo prompt to complete two-factor authentication. After successful two-factor authentication, you will get redirected back to the application's site.
Add Tile to Duo Central
Once you've configured Duo Single Sign-On and added an application, you're ready to enable Duo Central, a single location for your users to get access to all of your organization's applications and helpful links. Get started with Duo Central.
Delete Duo Access Gateway Application
Once you've validated that you can log into your application using Duo Single Sign-On and everything is working as expected, delete the old application from the Duo Access Gateway.
If you have not updated your SAML application to use the Duo Single Sign-On yet, do not delete this application. Update your SAML application to use Duo Single Sign-On first first.
-
Navigate to the Duo Access Gateway admin console login page. Log in with the administrator password and click Applications.
-
Locate the application that you've migrated from the Duo Access Gateway to Duo Single Sign-On, click Delete, and confirm the deletion.
-
Return to the Duo Admin Panel and navigate to the migrated Duo Access Gateway application. You can also locate this page by clicking the Duo Access Gateway version link found in the banner at the top of your new application in the Duo Admin Panel.
-
On the details page of the no-longer used Duo Access Gateway application, click Remove Application and then confirm deletion.
Congratulations! You've successfully migrated your Duo Access Gateway application to Duo Single Sign-On. Repeat these steps to migrate the rest of your Duo Access Gateway applications.